Check out the stuff in the walls!
Finally, after many months of our sub contractors negotiating parking spots for their trucks and parading all kinds of materials and equipment through the garage and our house, we are finally ready to call for Rough Inspections!
The job of the inspector is to make sure the construction of the structure adheres to all applicable building codes. Every village and town adopts its own codes for its residents to follow for their projects. The codes that apply to our construction as mandated by our village are the 2012 International Residential Code, 2012 International Mechanical, 2012 Fuel Gas Code, 2011 National Electric Code, 2004 Illinois Plumbing Code and the 2012 Illinois Energy Conservation Code. Yes, it may be overwhelming, it may feel like a burden to a homeowner, and it does cost money for the inspections. However, for the past 30 years (I know, where did the time go?) about 90% of my work has been in remodel, and I have seen some horrible results due to lack of wisdom, knowledge, or care when building codes were not applied. I have seen an attic filled with dryer lint because the builder never brought the vent outside (a fire hazard!), a terribly out-of-level kitchen floor due to an installer who cut the floor joists for a heating duct, and many cases of mold due to poorly installed or worse — flashing not installed around doors and windows. The worst would be one of Steve’s latest projects; a house that burned down because a previous owner covered live electrical outlets during an earlier remodel.
If I were to buy a new house, I would like to be confident that there were no disasters waiting behind the walls.
Our Rough Inspection will include electrical, plumbing, mechanical, systems.

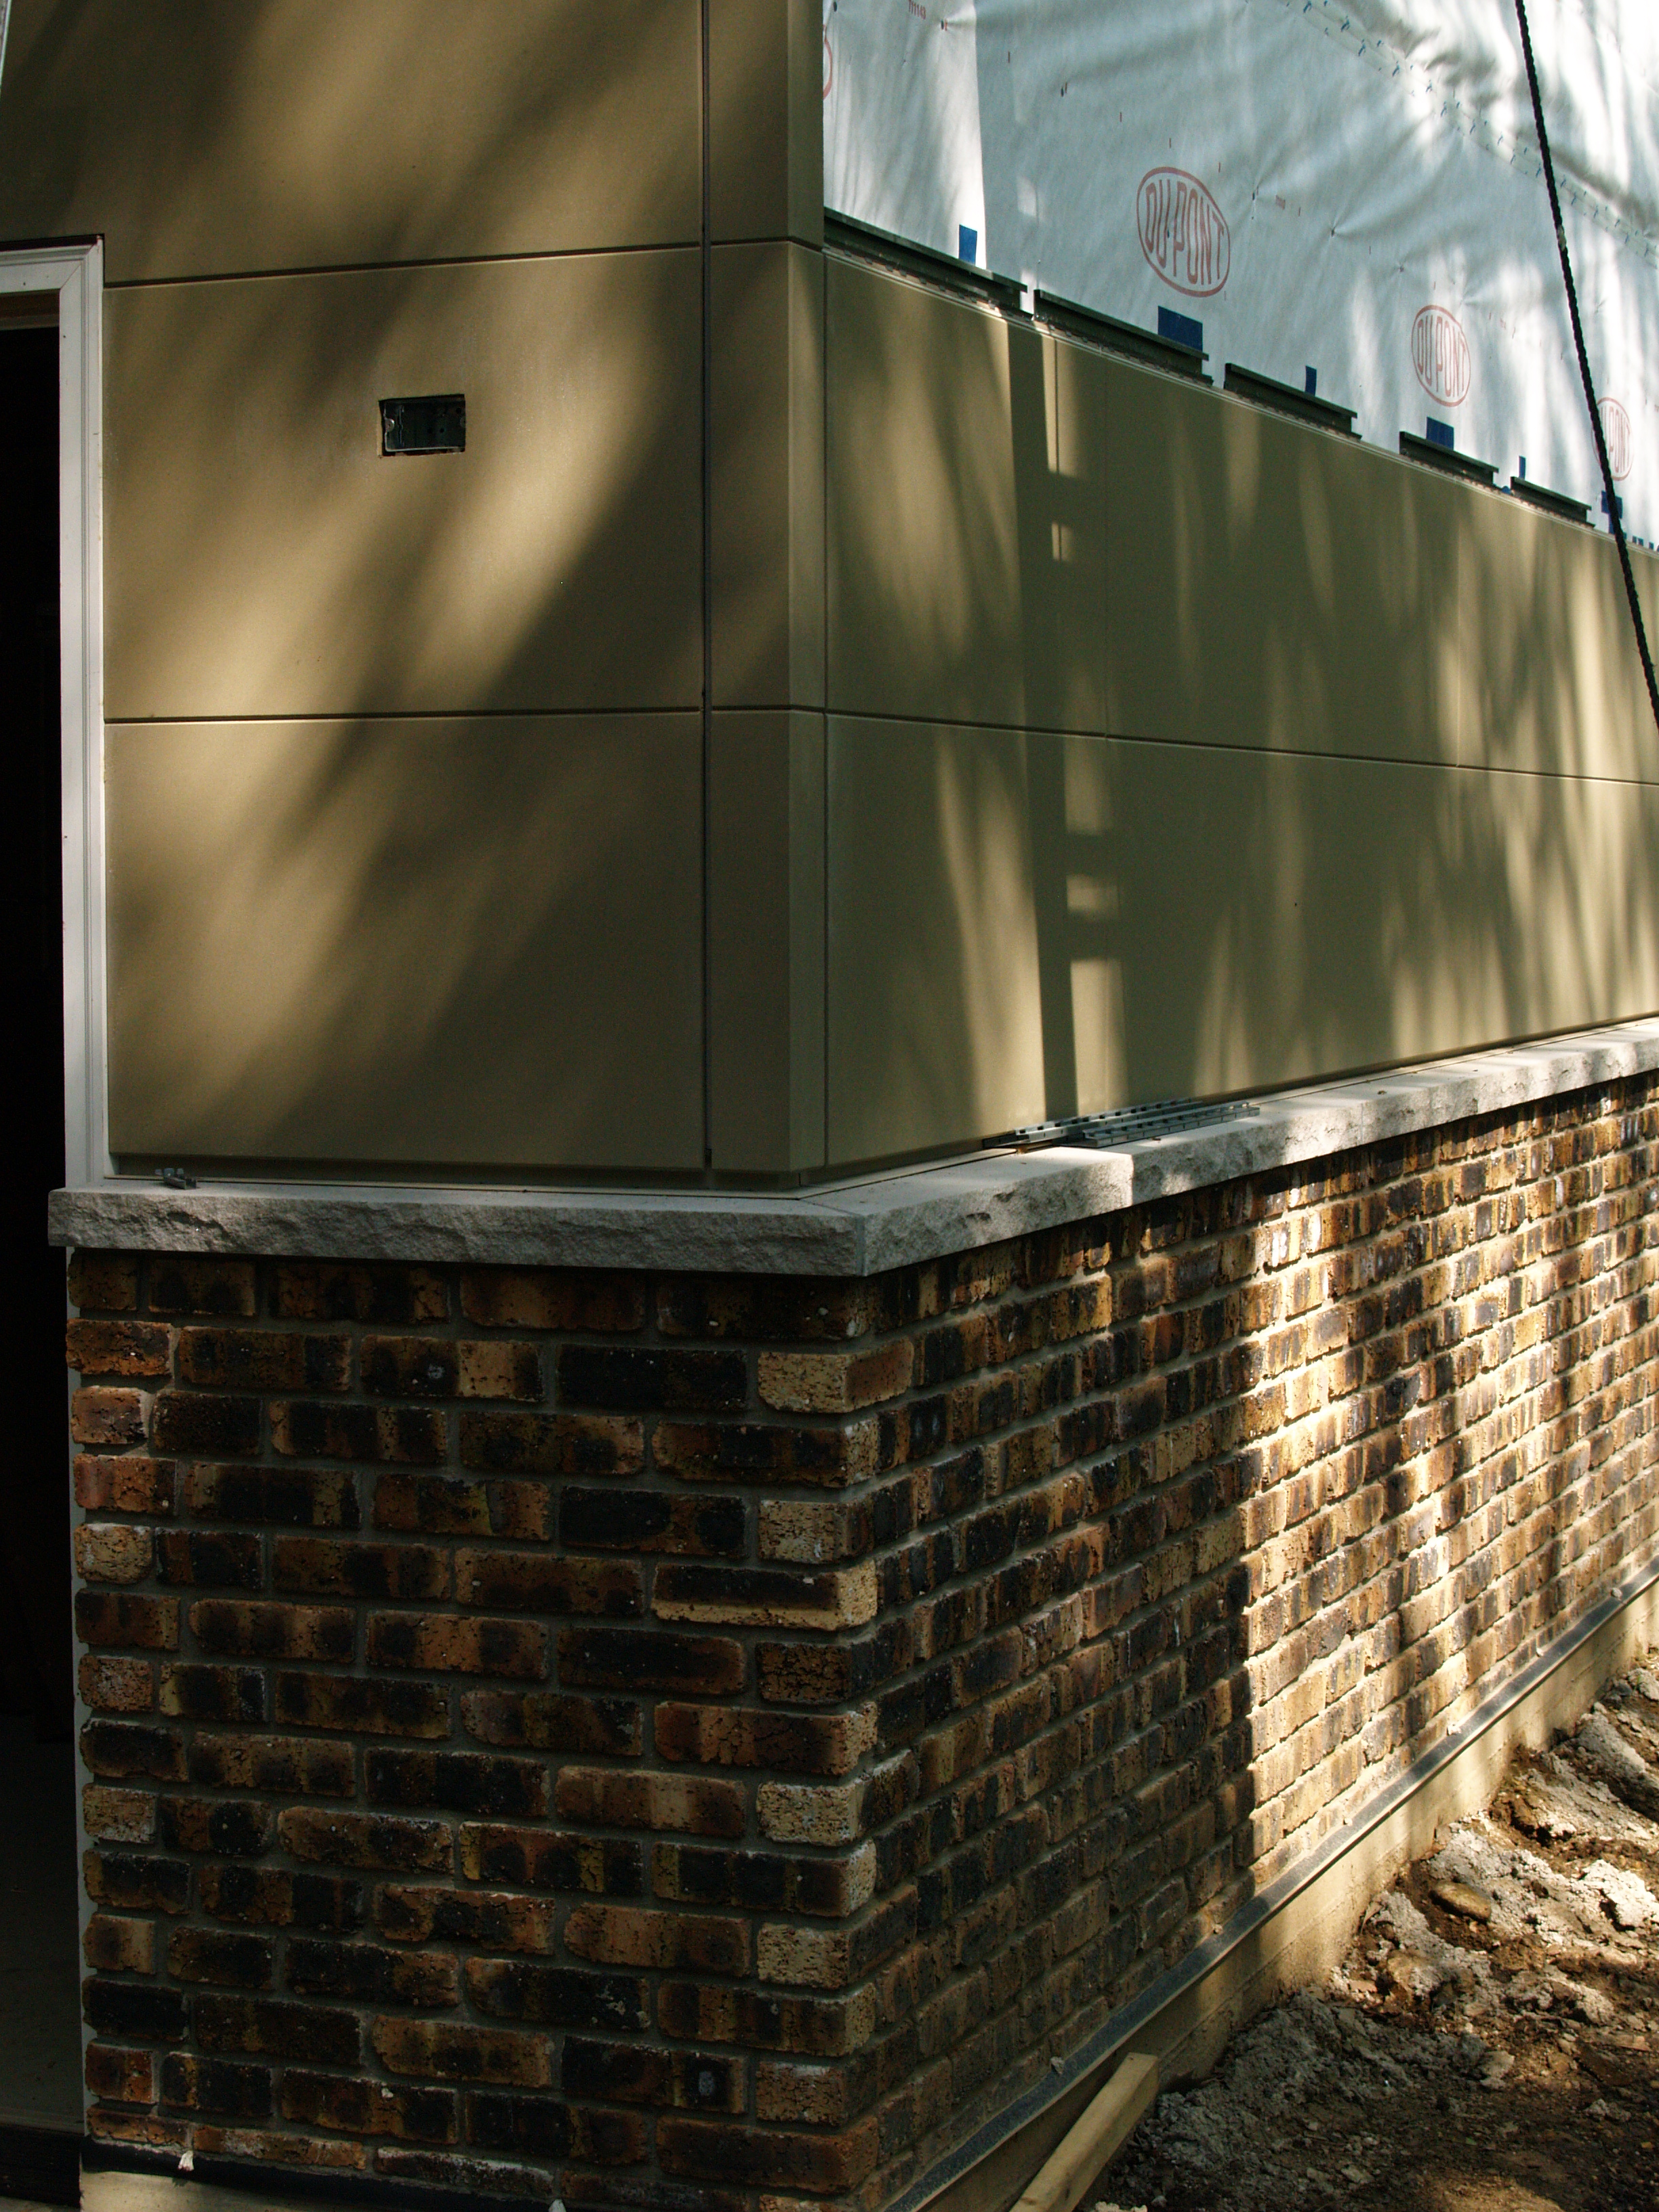
THE DECK OVER THE GARAGE
When creating a deck over finished space below, we were essentially creating a bathtub. The roofer installed a water-proof membrane over the sloped floor structure. Our village code requires not just one scupper (on old buildings they sometimes look like gargoyles) to let the water drain from our “tub”, but a second over-flow scupper as well. Yes, I know, it does seem excessive considering we have a roof above, however we do have torrential rain storms and heavy snow that does get blown sideways in the midwest. Until the past week, rain and snow melt did end up on the floor of our garage below. Steve will be framing the finished decking to float above this membrane in the very near future!

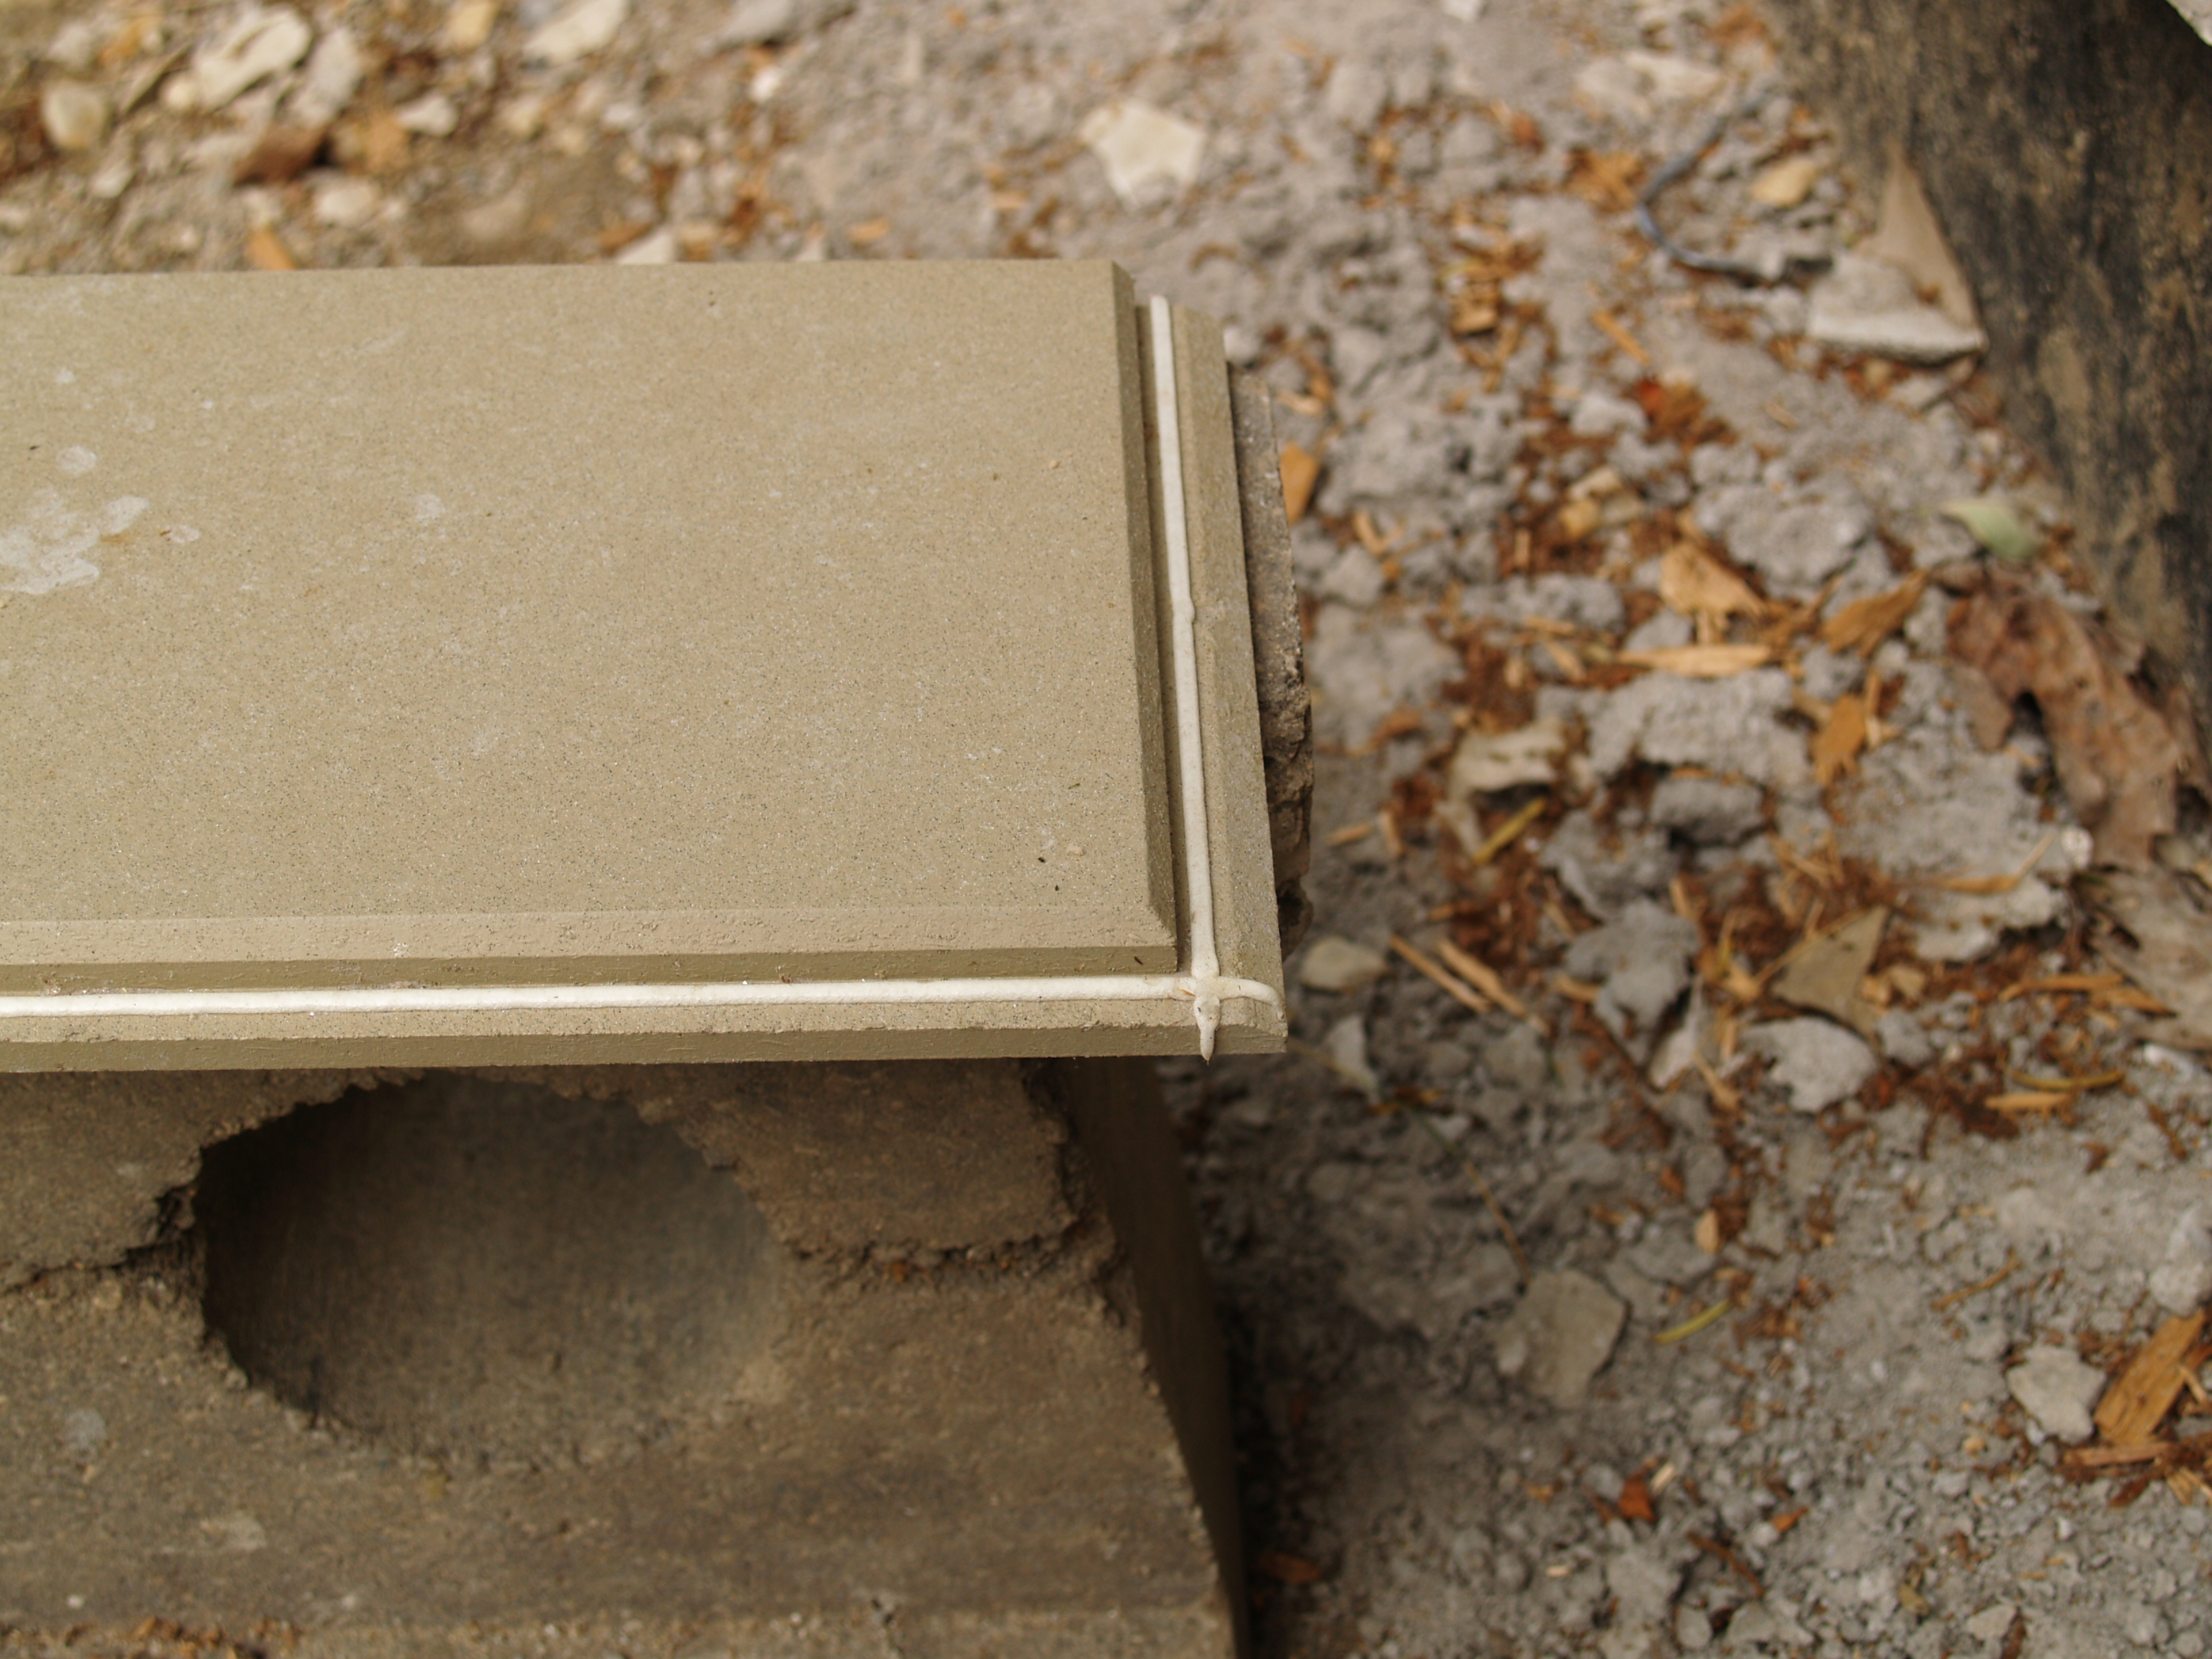
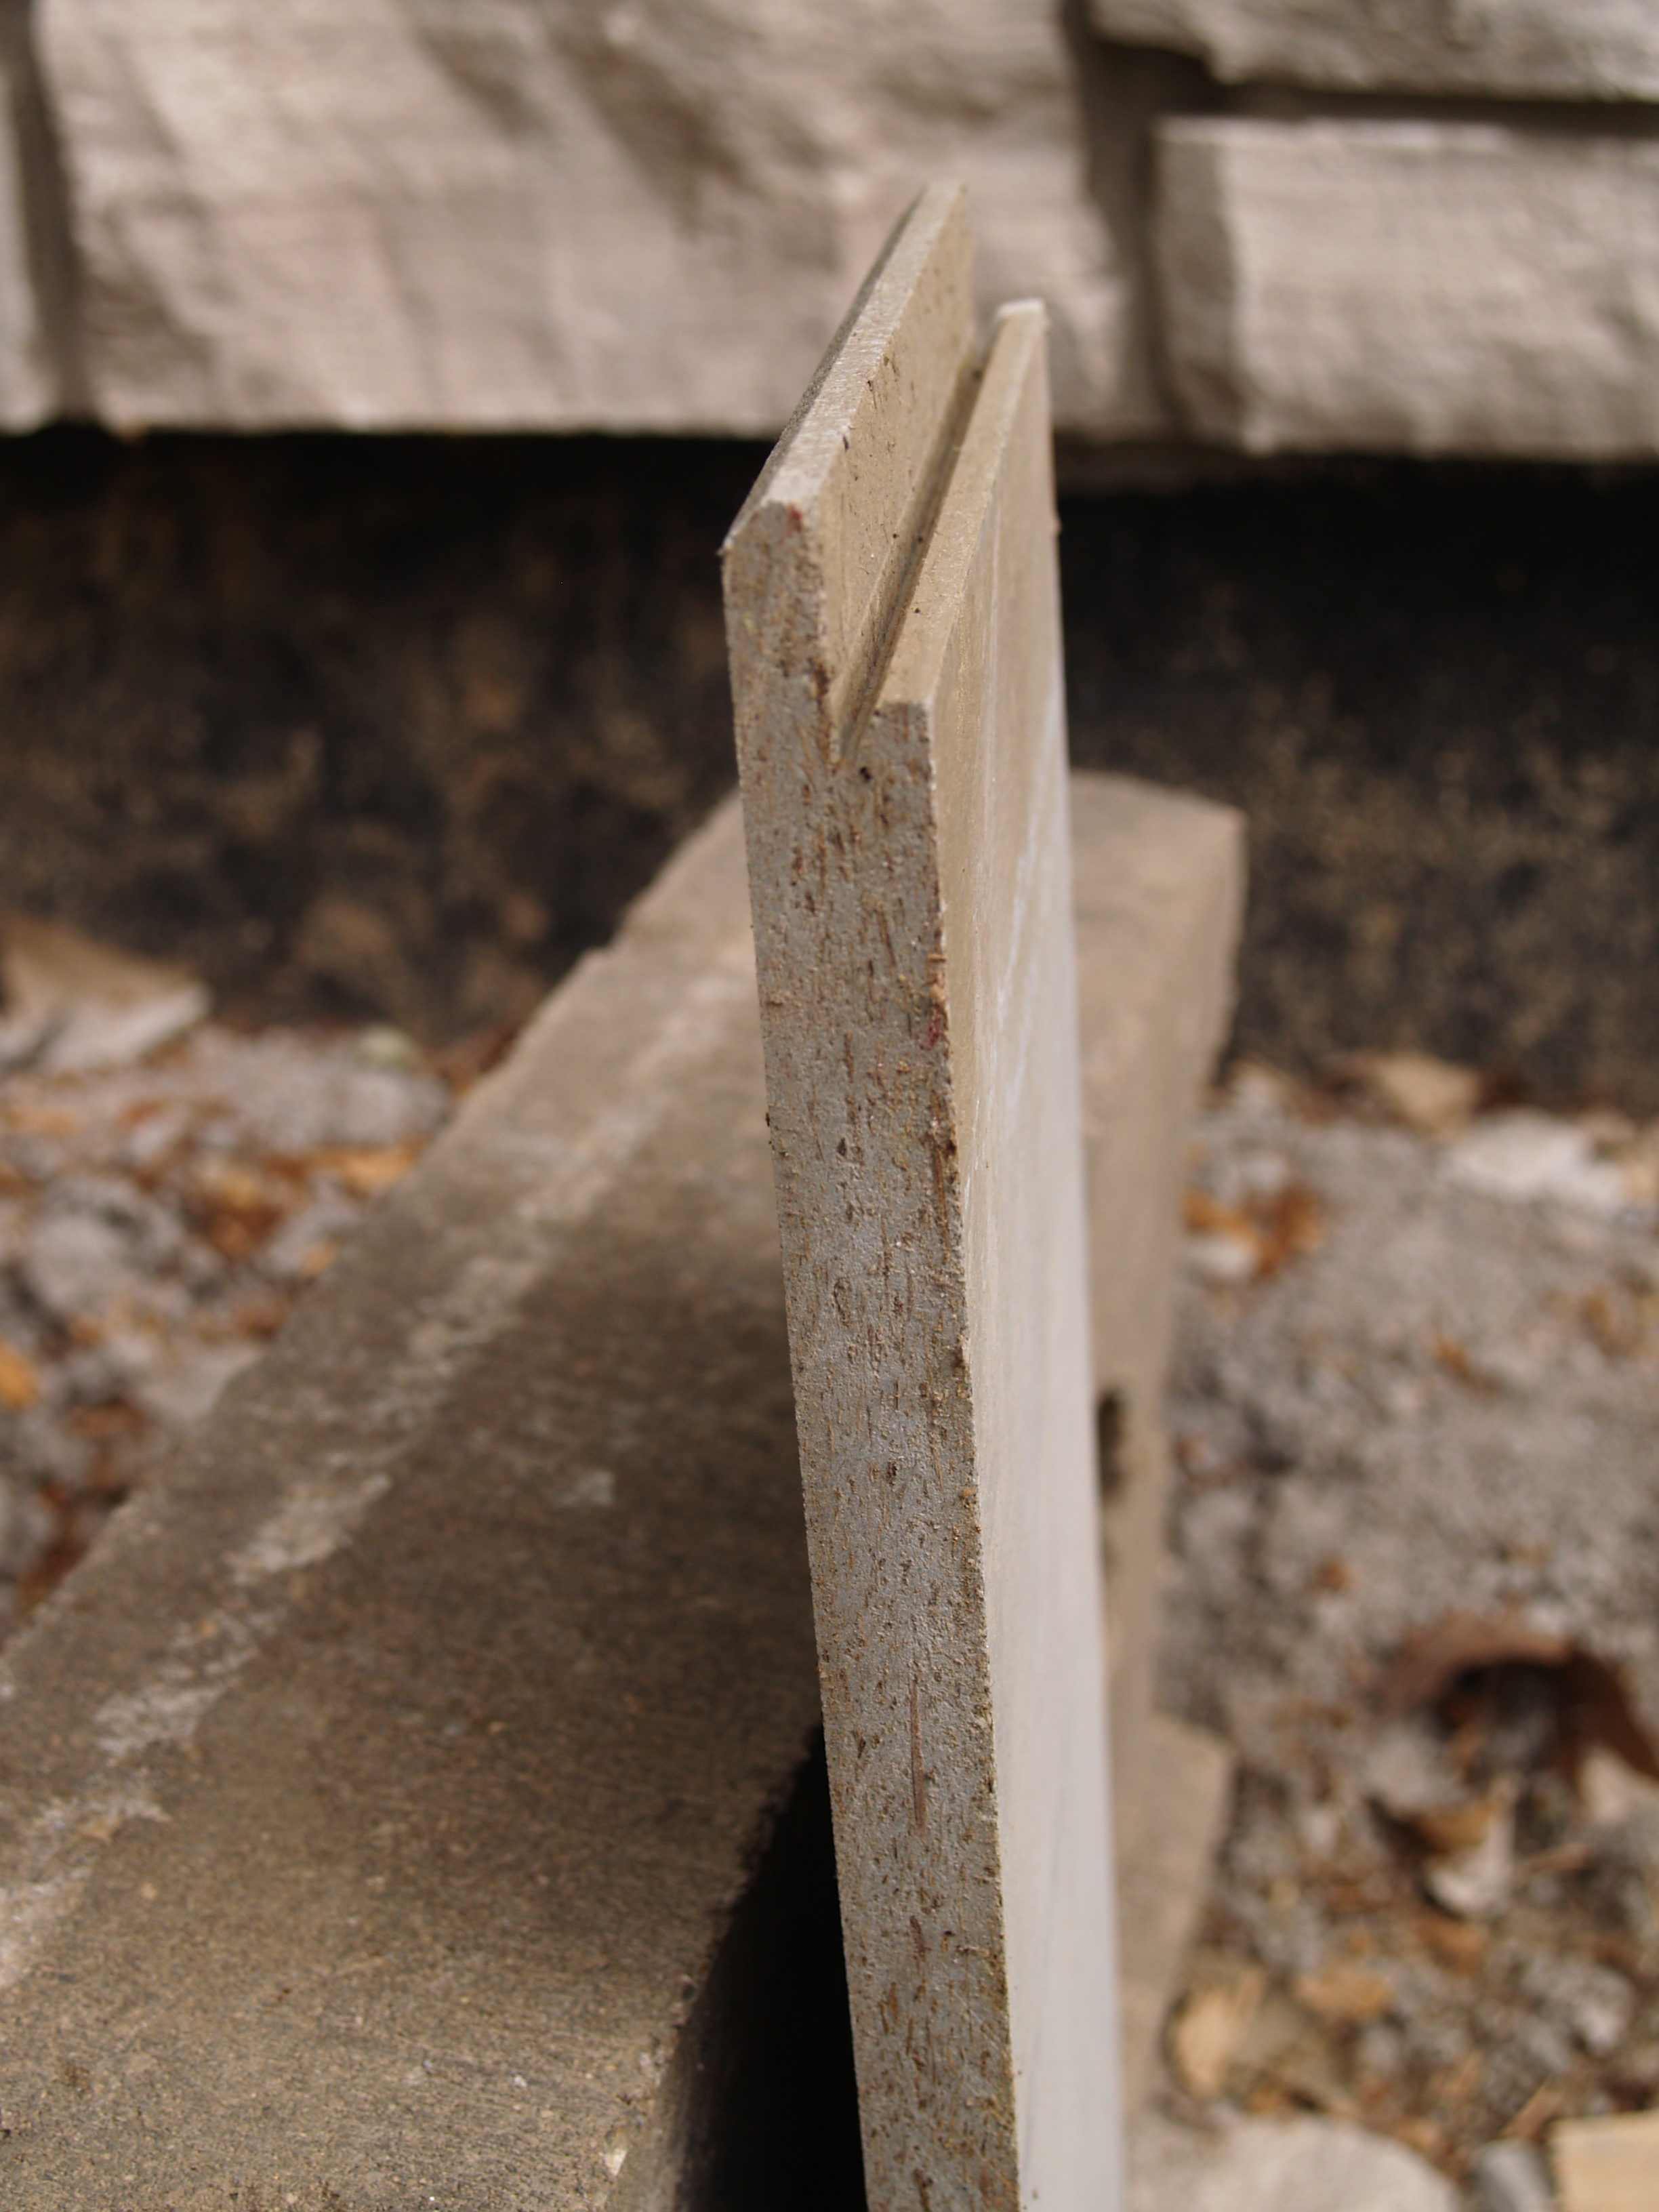
SCUPPERS & DOWNSPOUT
Not quite the elegant box I imagined, but I am sure it will serve its purpose well

CONNECTING THE OLD TO THE NEW.
This is the view of our ceiling in our relatively new mudroom. The space between our utility room and the new addition. It’s too bad that the ceiling will be repaired and will cover up this amazing raceway to the garage. In the ceiling is the work of the plumber, the heating contractor, the electrician and our filtered water supplier. There are copper pipes carrying water for our radiant heat in the second story floor and the garage floor, copper pipes for water to the bathroom, cables for internet and television, and electrical conduit.

NEW ELECTRIC
 THE VIEW OF THE CEILING AT THE BACK WALL
This is the back wall of the new addition at garage level. This is the handy work of the electrician and the heating contractor. A new sub-panel for the new addition involved moving circuits and wires from the utility room to this room. There is a smaller box to the left that will be a 60 amp circuit panel for the circuits we want covered by the new gas-powered generator. We live in a neighborhood that frequently experiences power outages. Some last a few minutes, others can last days. We need to be able to keep the well pump running, as well as the septic system pump, the boiler, the refrigerator, my studio and maybe some lights. There is also a gas line going out to the generator, the lines from the AC condensor to the AC air handler in the attic in our second story and the condensate line running from the air handler to a drainage pit outside (local code requirement).

ANOTHER WALL OF PIPING
This is the shared wall between new and old. Water and drains run across the top in the soffit, other water lines run down the wall to heating in the floor.

THE GARAGE CEILING
In the ceiling above the garage the heating contractor installed fins that will distribute heat to our bedroom floor from the hot water running in that orange flexible pipe. The other pipe is conduit that holds the electrical wiring. The two contractors had to work around each other…Jason waited until Bill (our electrician) was substantially complete with his piping before he would run the water lines. This done to minimize the accidental puncturing of the water line.

NEW DRAIN
The plumber installed a new main drain to the septic system rather than tie into the old.

VIEW OF CEILING IN THE MASTER BATH
Vents for the drains, and air conditioning ducts, an exhaust fan duct, junction boxes and housings for the recessed downlights all vie for space in the ceiling.

SHOWER WALL VALVES AND PIPING

BATHROOM TOILET ROOM
We are using a wall hung toilet and bidet. These are the support frames for the fixtures and the tank for the toilet located in the wall.
CHECK OUT THE STUFF IN THE SINK VANITY WALL!
The plumber has run new gas lines to the future generator, the new laundry room for the dryer and to John’s future dream grill on the patio (no more running to the gas station to refill tanks!). The drain vents have all run up through the roof and have been sealed in by the roofing contractor. All the new drain lines and vents have been filled with water for the “stack test” required by code for Monday’s plumbing inspection to make sure there are no leaks in any of the pipes.

ROUGH ELECTRICAL IN THE SOFFIT OVER BEDROOM DECK
All the exterior lighting junction boxes and recessed housings are all installed!
There is now no question in my mind, construction always takes longer than anyone anticipates!
- Weather is always an unknown factor when exterior work has to be done.
- Scheduling subcontractors is an incredible balancing act when one group of specialists can’t start until another group finishes their work. Don’t attempt to be your own general contractor and coordinate these trades.
- This year began with a huge increase in demand for residential construction in our metropolitan area. I will have completed more projects in the first half of this year than I usually complete in a full year. The demand for skilled labor has increased as well as the ability to find those specialists. When the economy tanked in 2009, many in our industry either left their profession or moved away to find work elsewhere. The lead times for delivery of materials have grown leaving the rest of us waiting longer because of the fear of stocking warehouses if demand suddenly shifts. It’s a great thing to happen, but gearing back up to pre-recession levels is taking time.
- Inspections also slow down work. No work can happen until the current phase has been approved by an inspector.
I have also come to a new conclusion — remodelling takes longer than new construction!
- Many operating systems have to be reworked, rerouted and reinstalled to tie into the new systems. My entire second floor had to be rewired to accommodate the new electrical locations in the remodeled half of the second floor.
- A homeowner living in the house while construction is going on slows down construction. Temporary systems may have to be installed (like plumbing, or electrical) in order to keep the house operating for the owner. A temporary gas line needed to be moved twice for us in order to keep hot water flowing from our gas-powered water tank. Schedules have to be worked around. Some owners prefer not to have contractors in the homes before dawn, but rather after the kids are off to school. There has to be clean-up at the end of the day, tools taken away and stored only to be returned the next day. Some trades have very large pieces of equipment (like the excavator that was the size of a dinosaur) that are better off staying on site, however, may have to be inconveniently located to still allow owner access to parts of the home.
- Even the flow of construction has to accommodate existing conditions. It would have been so much more convenient for almost everyone involved on our site if we did not have a septic field located in the front yard! If we were new construction, the field would have been the last piece put in place. The workers could have parked on the lawn, they could have stored material on the lawn, and they would not have had to worry about keeping that system working during the entire project!
After the inspection tomorrow, we will be onto insulation, sheetroock and then the finishes! I think we should be able to be completed by the time winter arrives!