When we began our search for an alternate to matching our existing cedar siding, we started with fiber-cement board siding. We knew we wanted something that looked like Ship-Lap siding but had some kind of modern twist to it. We requested many samples from many manufacturers and the company with the product we liked most was Nichiha.

A NICHIHA VINTAGE WOOD PROJECT http://www.nichiha.com/
They have a great product called “Vintage Wood” that would give us the look we wanted with the minimal maintenance. So off we went to find our product. We found that the plant that serves our region is in Georgia. After conversations with a rep, with a distributor and a retail outlet, we discovered that this particular product is not available in our region. What? But this is what we wanted! But we can’t have it. Going back to the drawing board and a few months later we settled on the beautiful garapa boards that I highlighted in my last post.
We had this winter to really think about our new selection, cost was a big mind bender. This material would more than double our budget for siding. The other consideration was, ‘would we like it on the east side of the addition’? The exposed side for coverage above the brick is very tall. Would 5″ boards become too much for how much we had to cover? Yes it would, we decided.
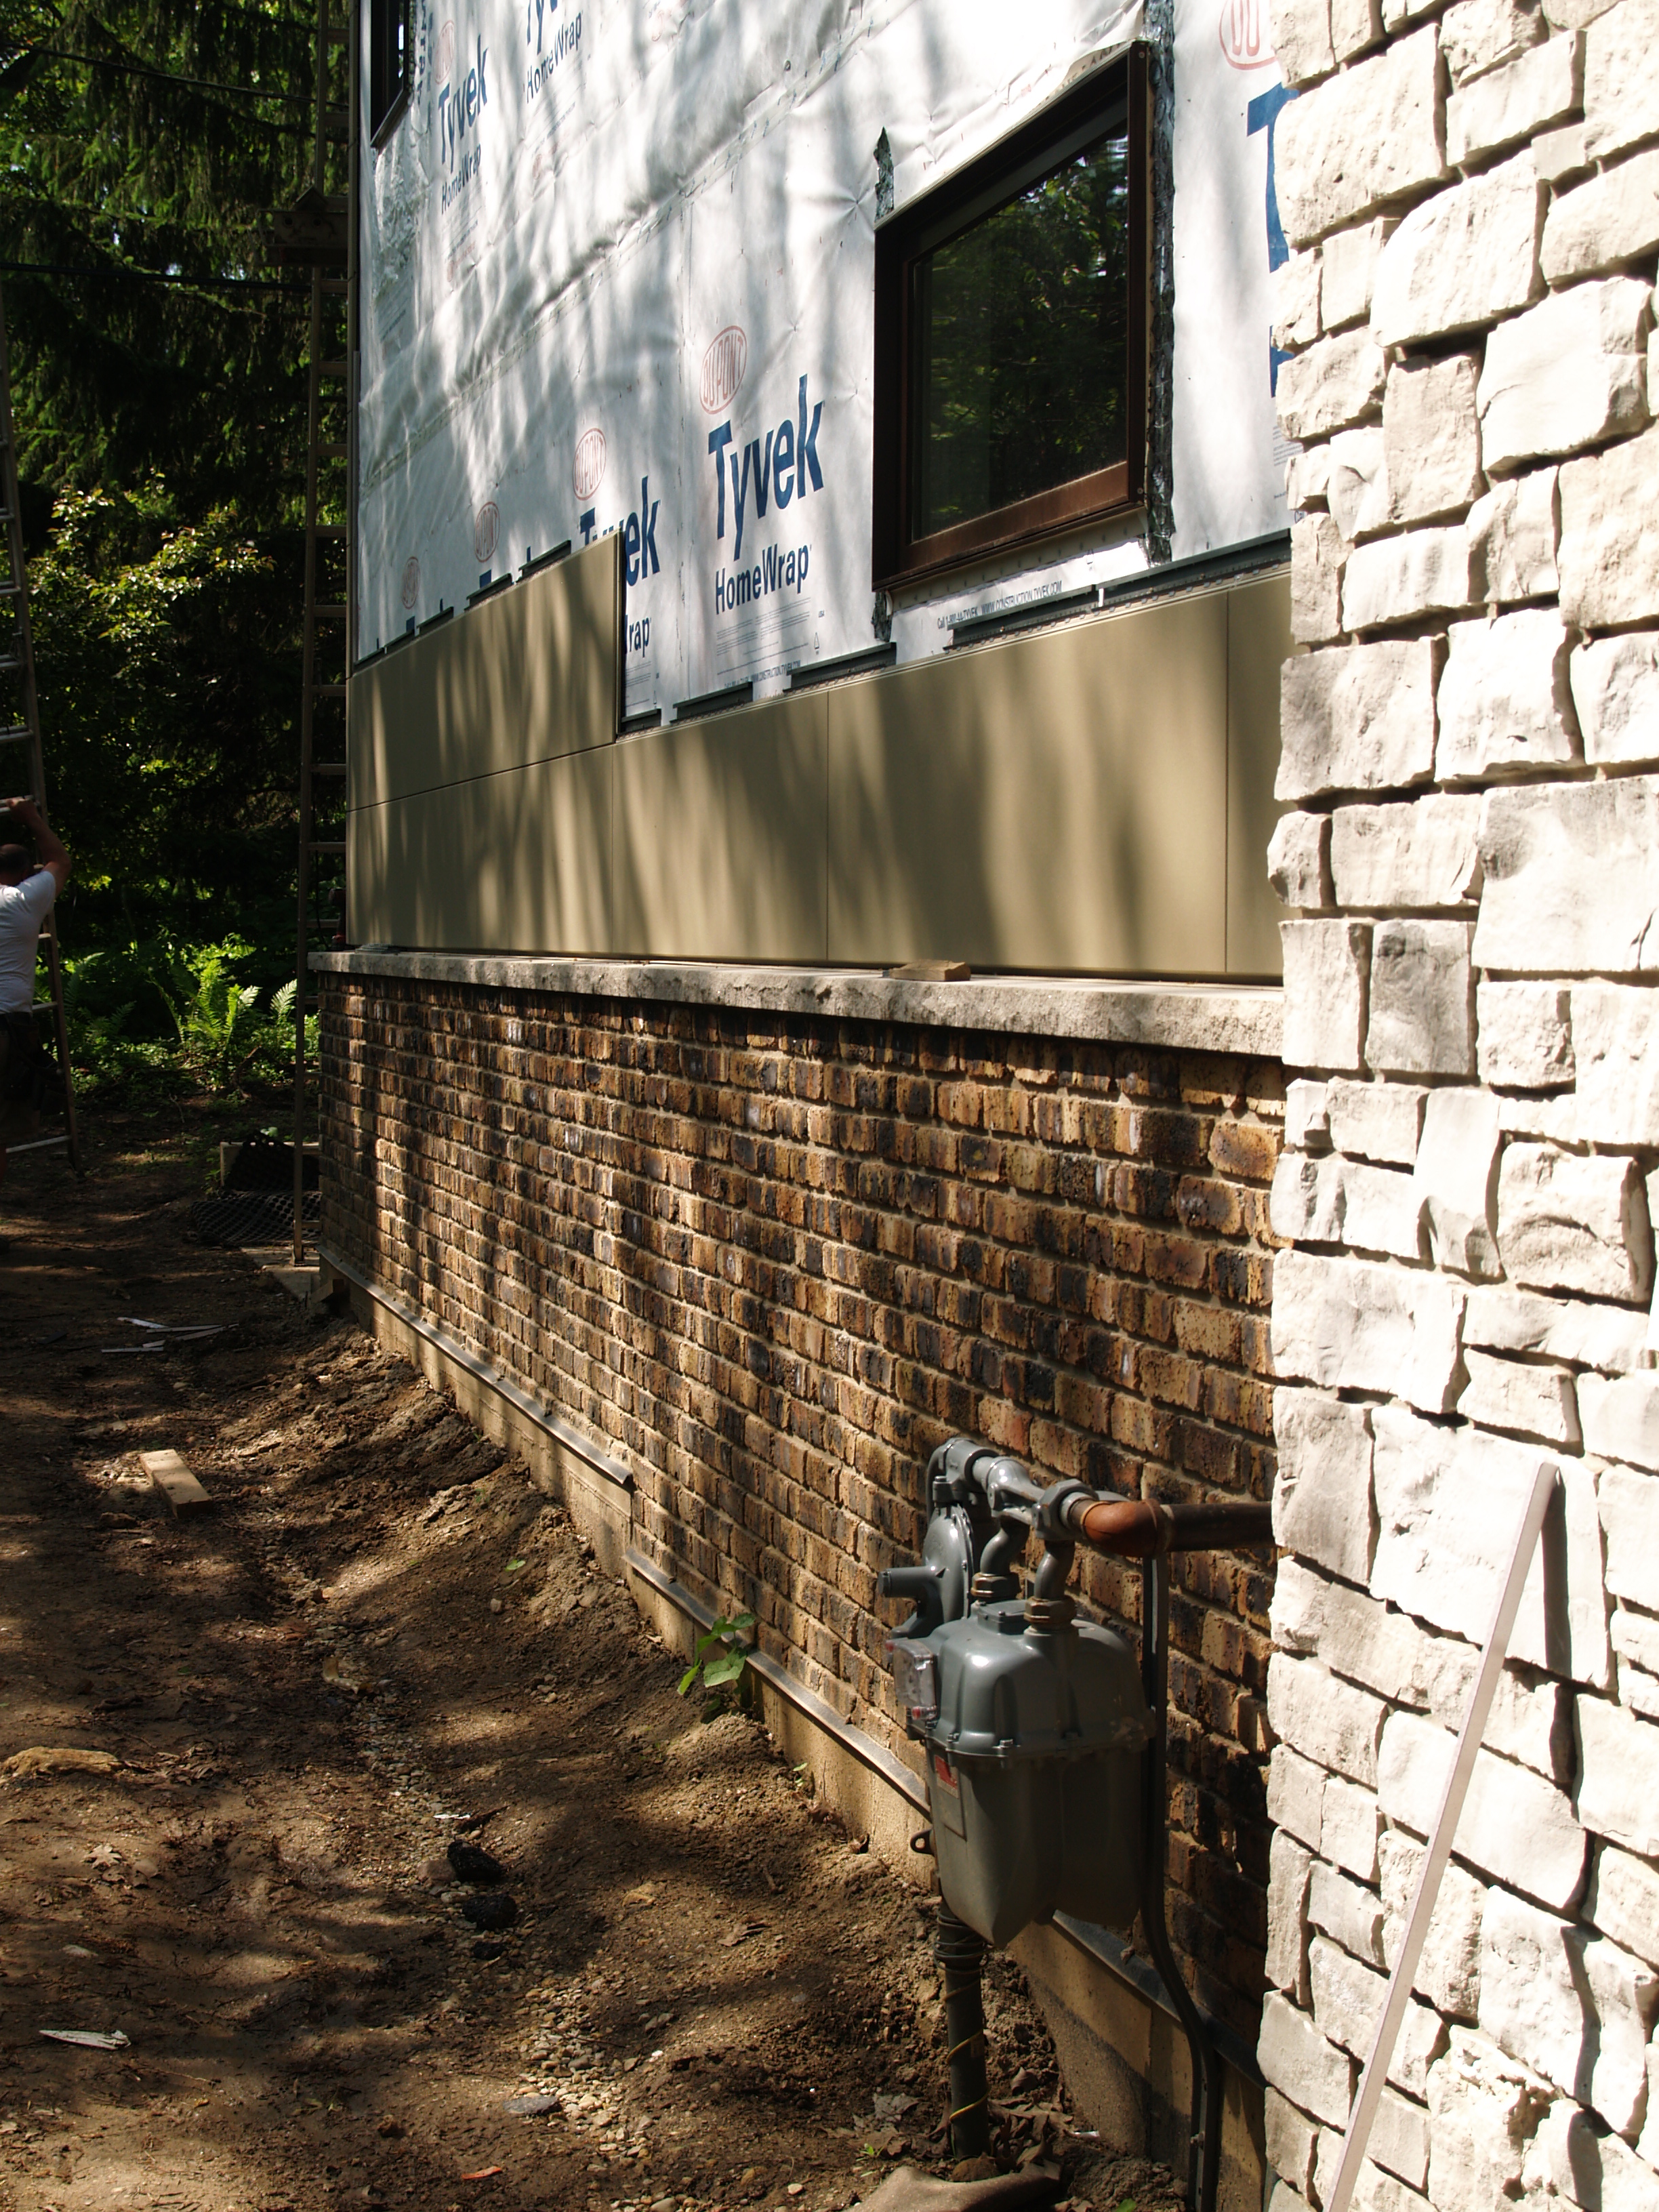
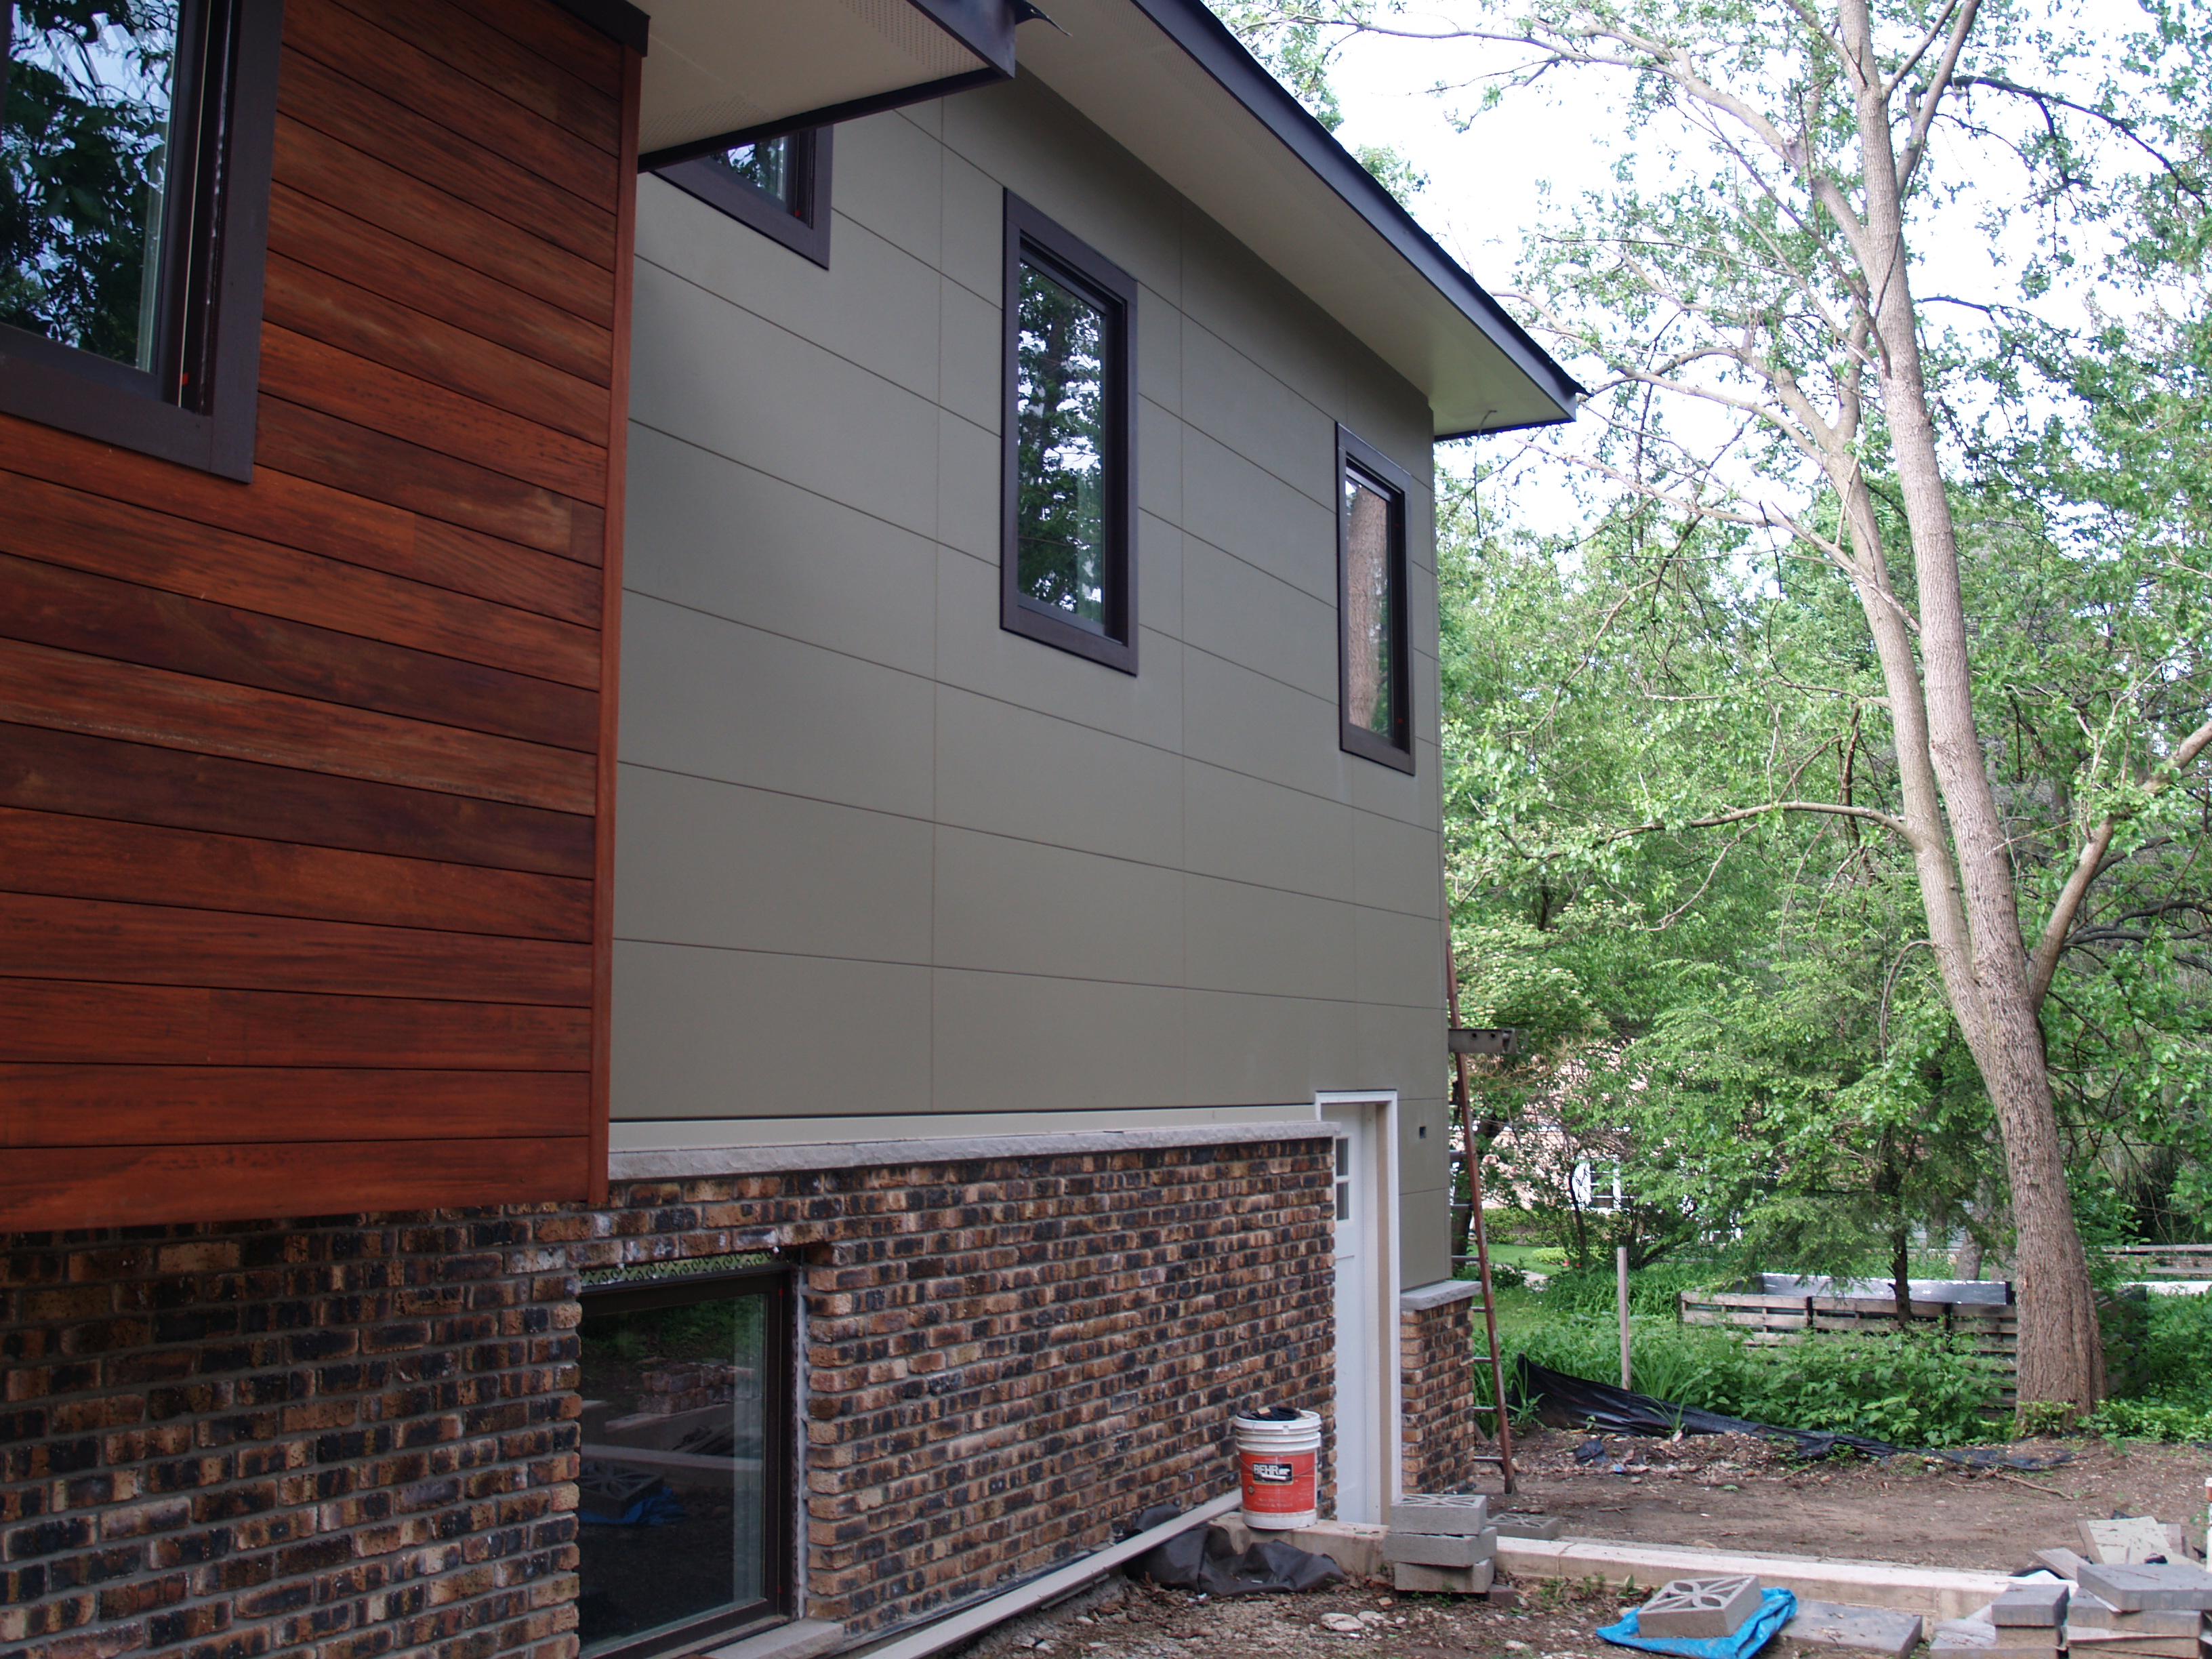
So we returned to a new search. We liked the look of stucco, but were concerned about cost and maintenance as well. We had stumbled on a lot of photos in Houzz with homes clad in fiber-cement panels. We liked the clean lines, and the stucco-like finish. We started with James Hardie panels because we knew that Hardie board siding is everywhere in our region. Apparently, just because one product is shipped here, does not necessarily mean that all products are shipped here. Sigh, the panels are not available in our region. Well, perhaps, it works the same way in the Nichiha distribution. We went back to their site and left a message requesting someone contact us. And they did! From their commercial product line. Not only did they have their ‘Architectural Block’ product available in the upper midwest, they had several installations in Chicago! So we were off to the city to scope out the siding. And we loved it! The rep sent us the three samples of the board with their stock colors, shipping time: 2 weeks. We could have the boards customs colored, but the wait was 2 months. Russ and Ken were available for our project in the next two weeks to hang siding, so we chose a standard color: Tuscan Tan. The other sample he sent left us a little sad…”Vintage Wood”. Apparently it is now offered as a commercial product and it is now available to us. It was its lack of availability that led us through a 6 month journey sourcing other alternatives. Go figure!
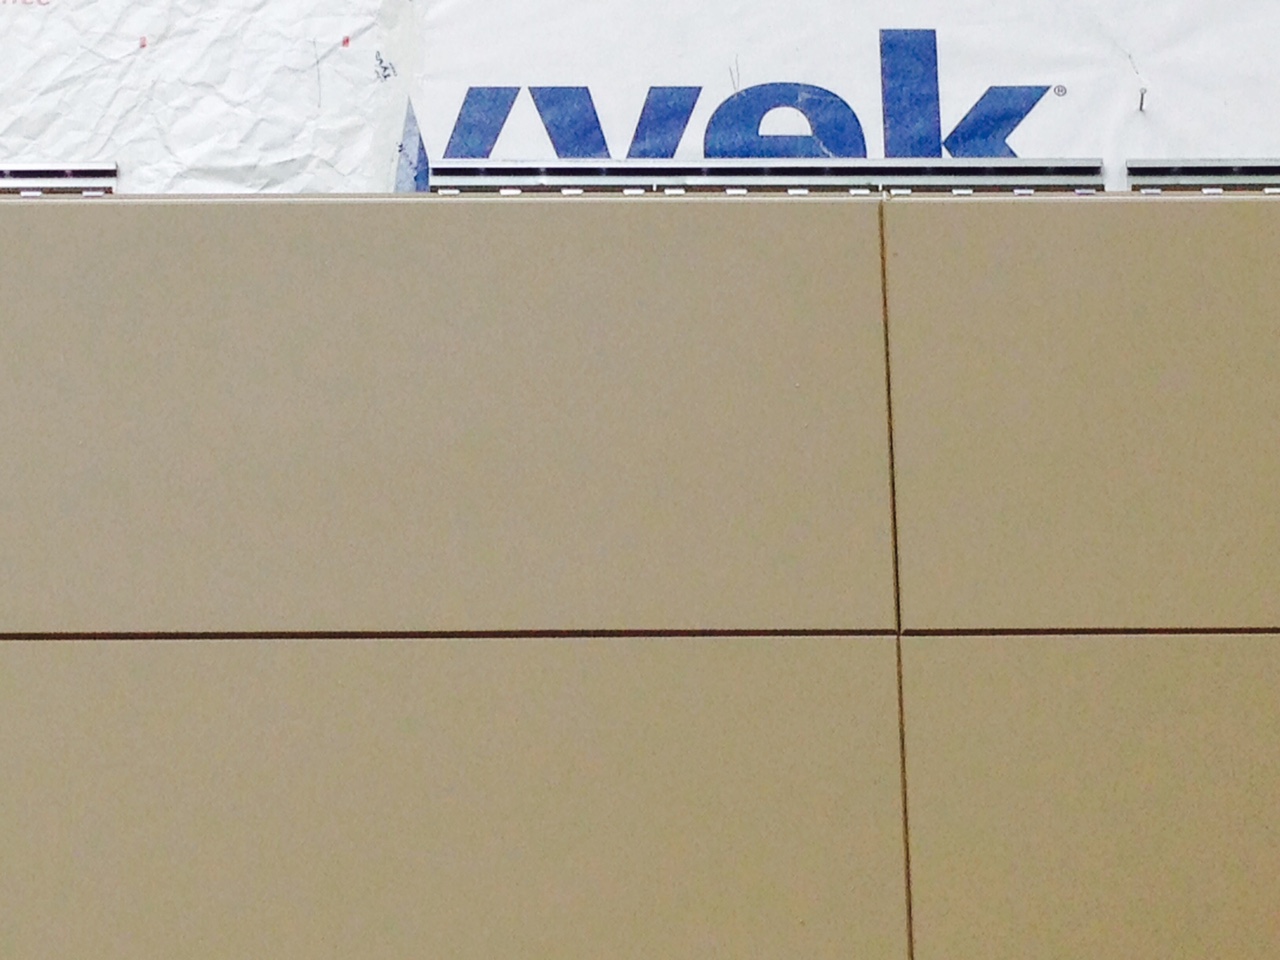
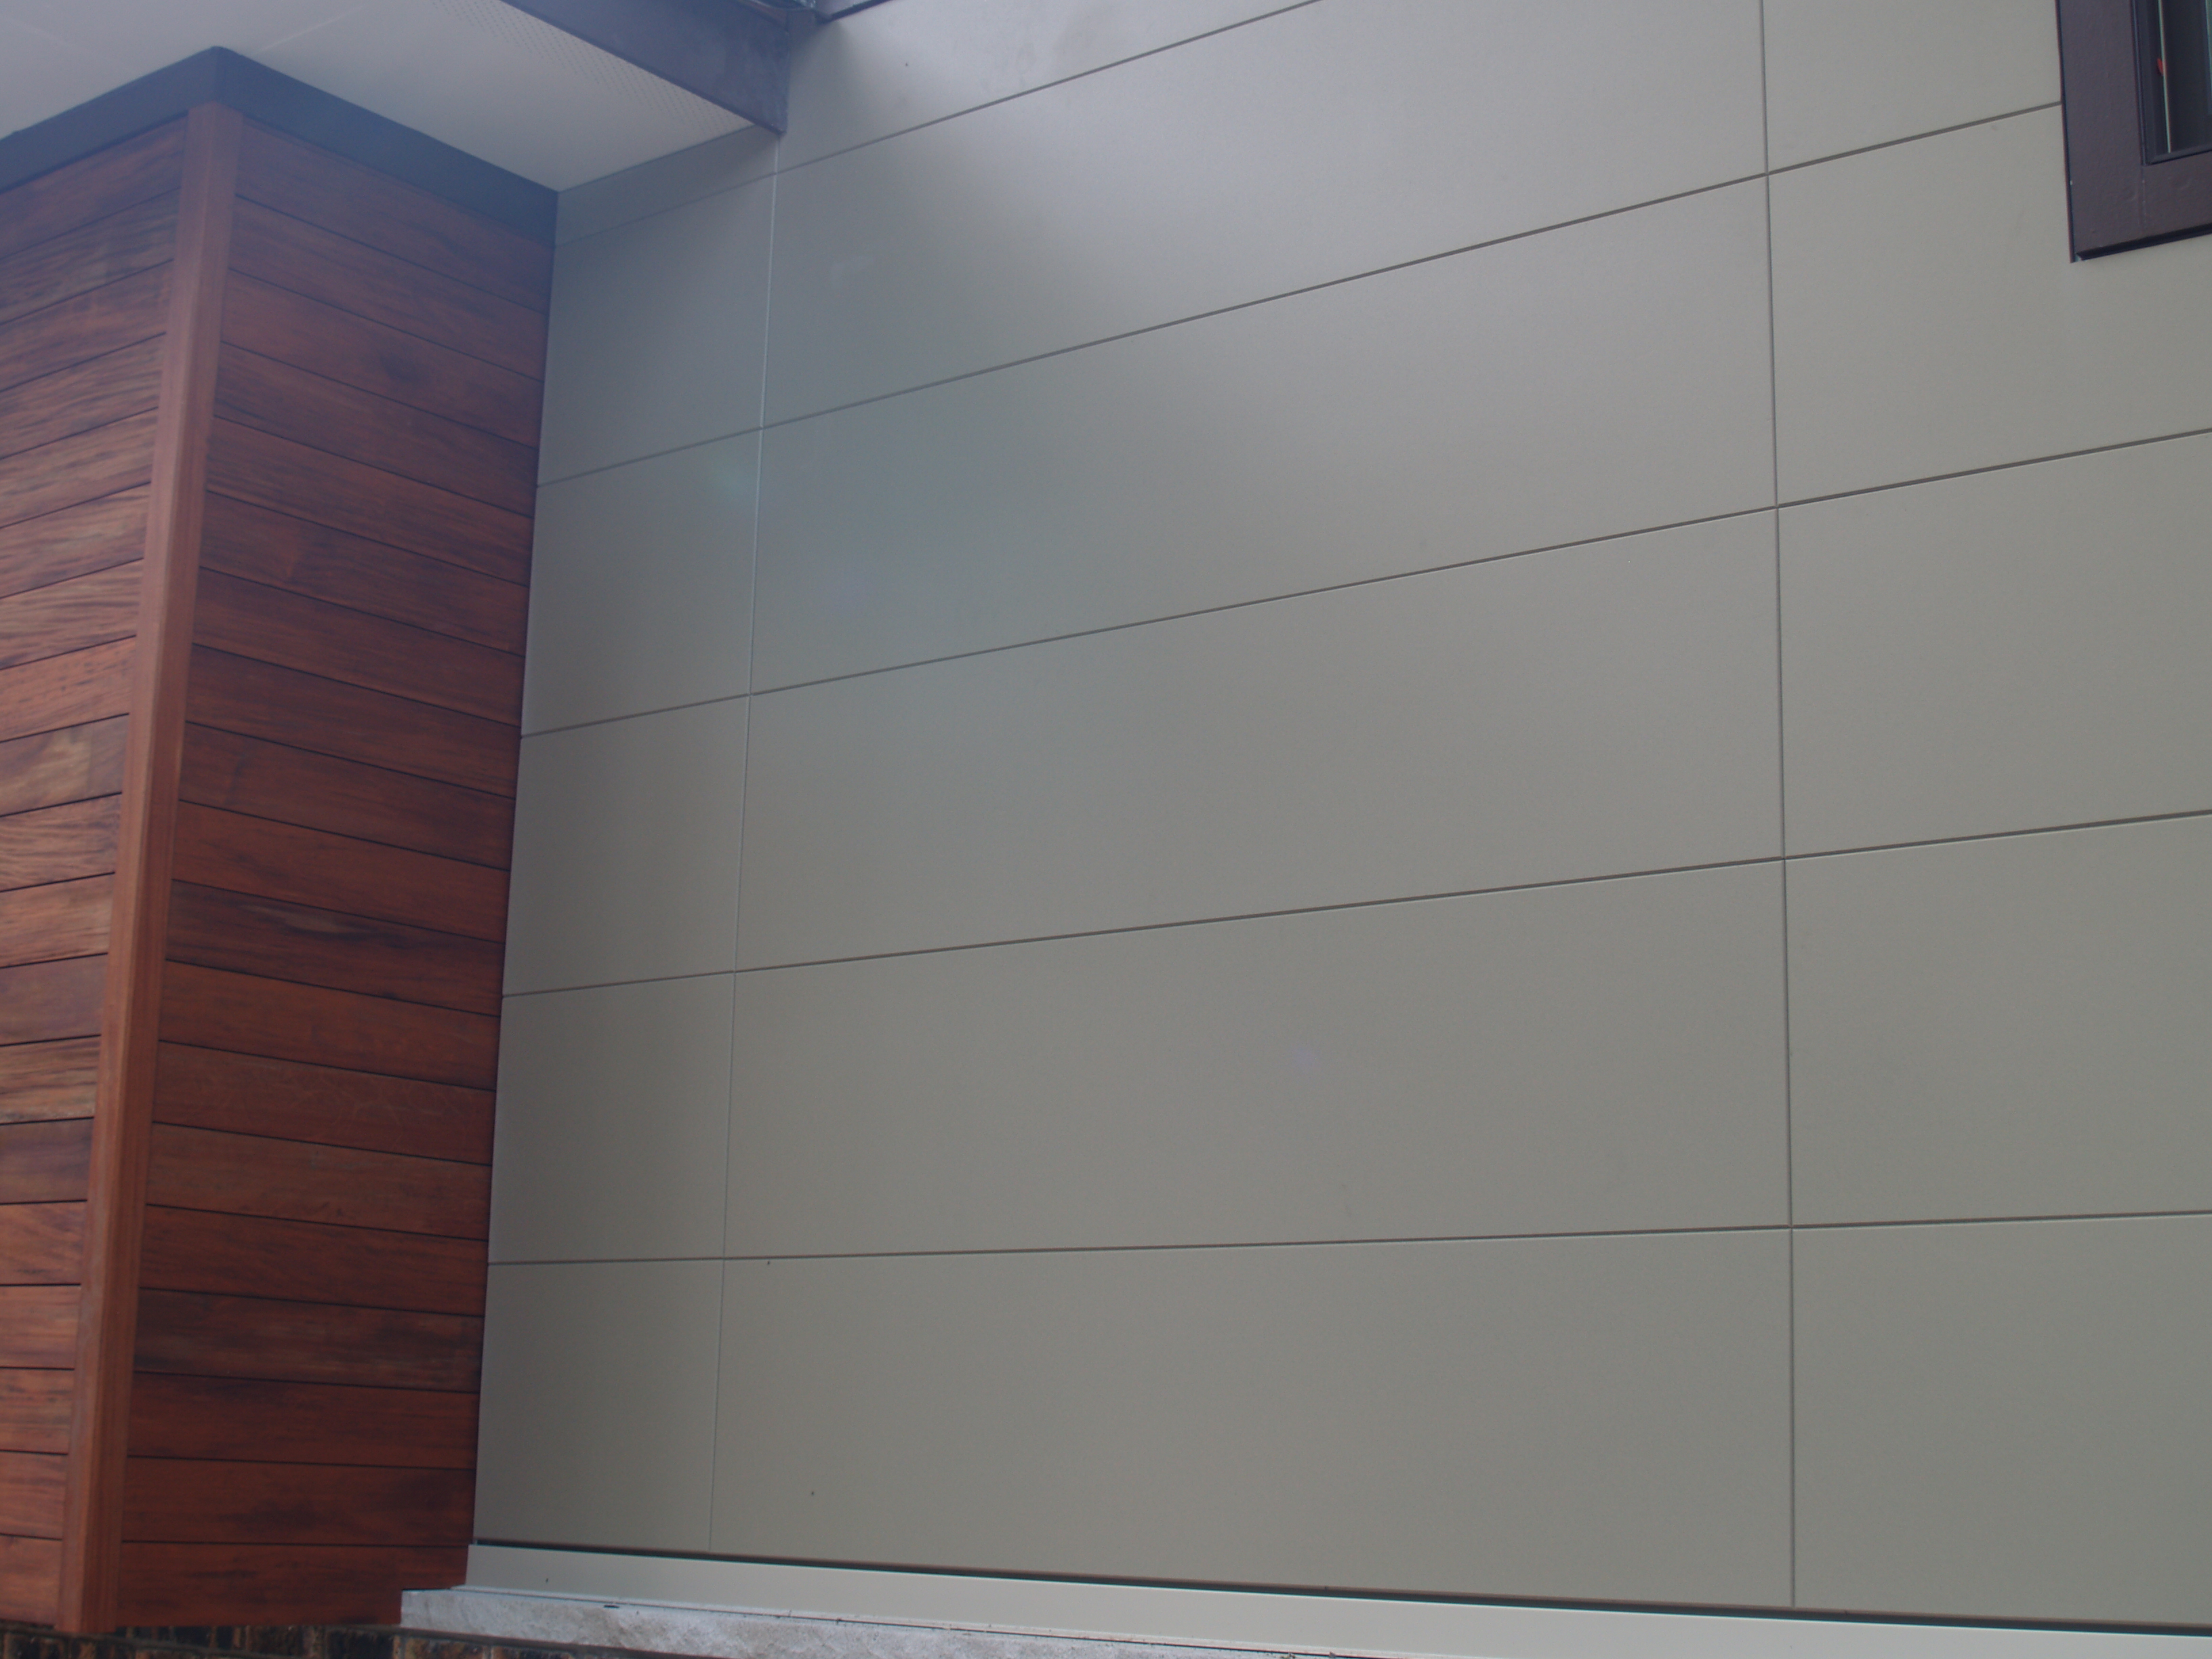
So the siding has arrived and the boys are almost finished with the installation. These panels are 18″ high x 6′ long. One panel laps over the other. There is a rubber gasket applied on the outside face side on every panel that seals the overlapping joint.
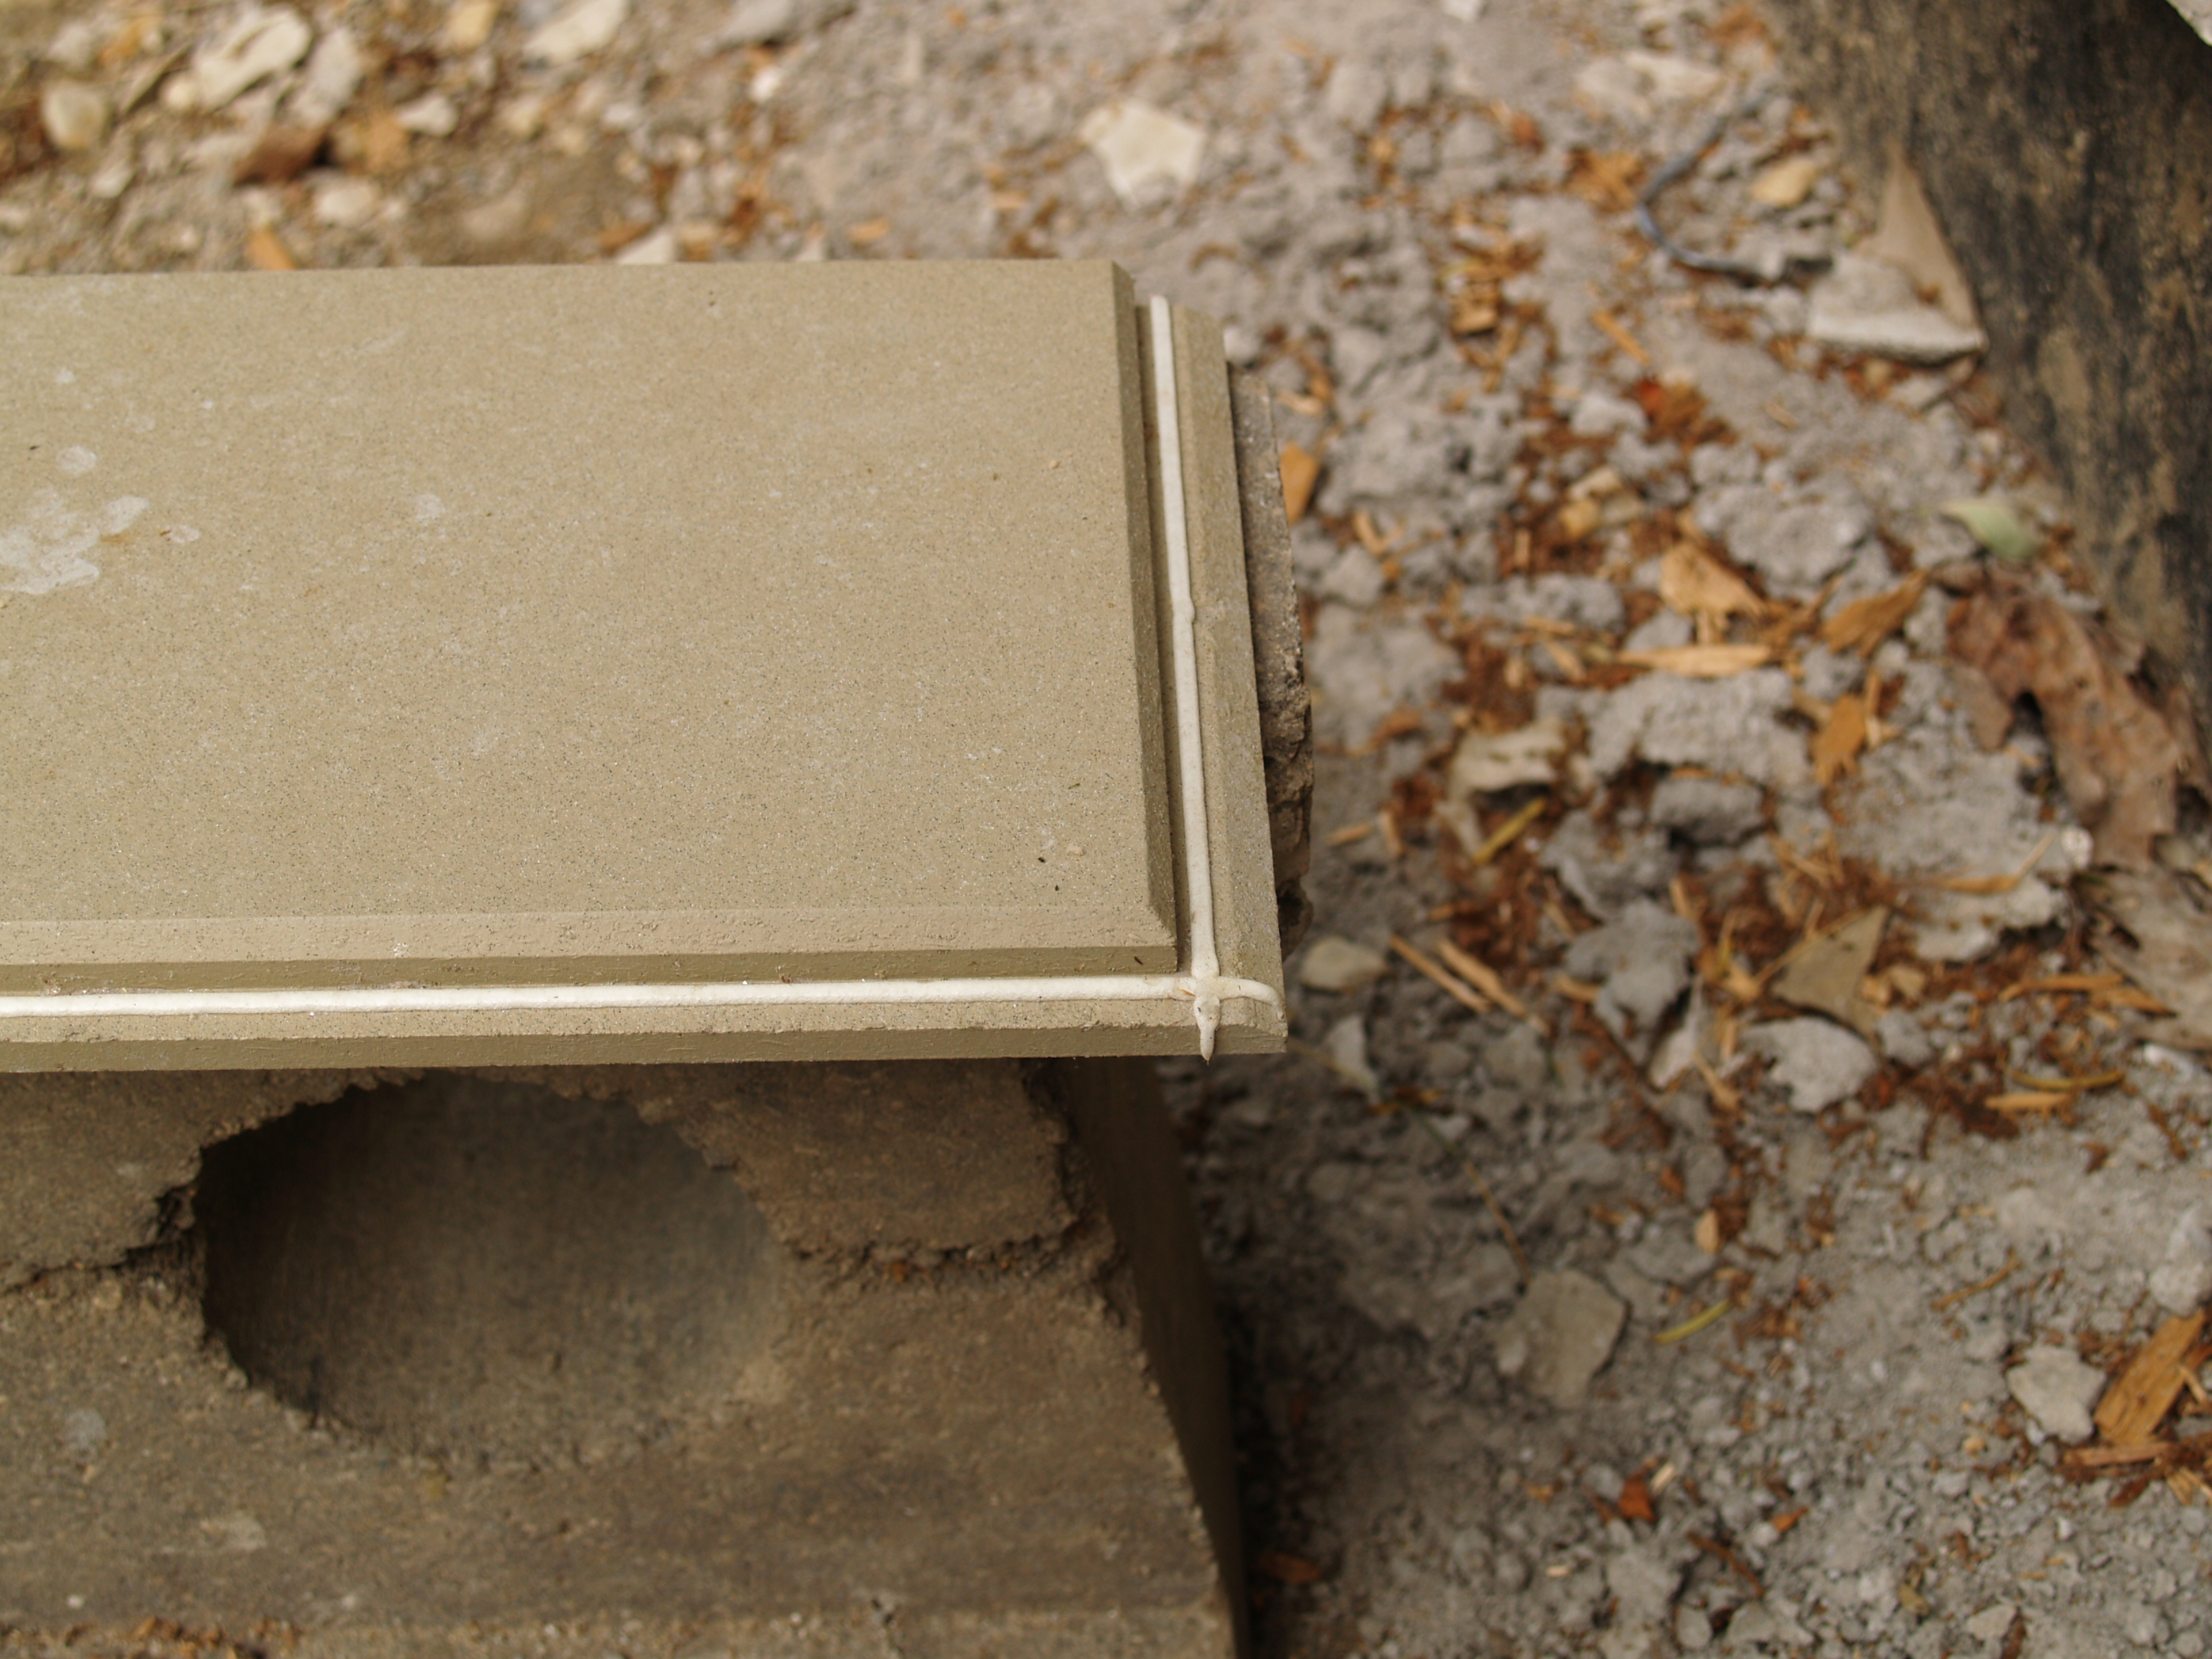
SIDING DETAIL
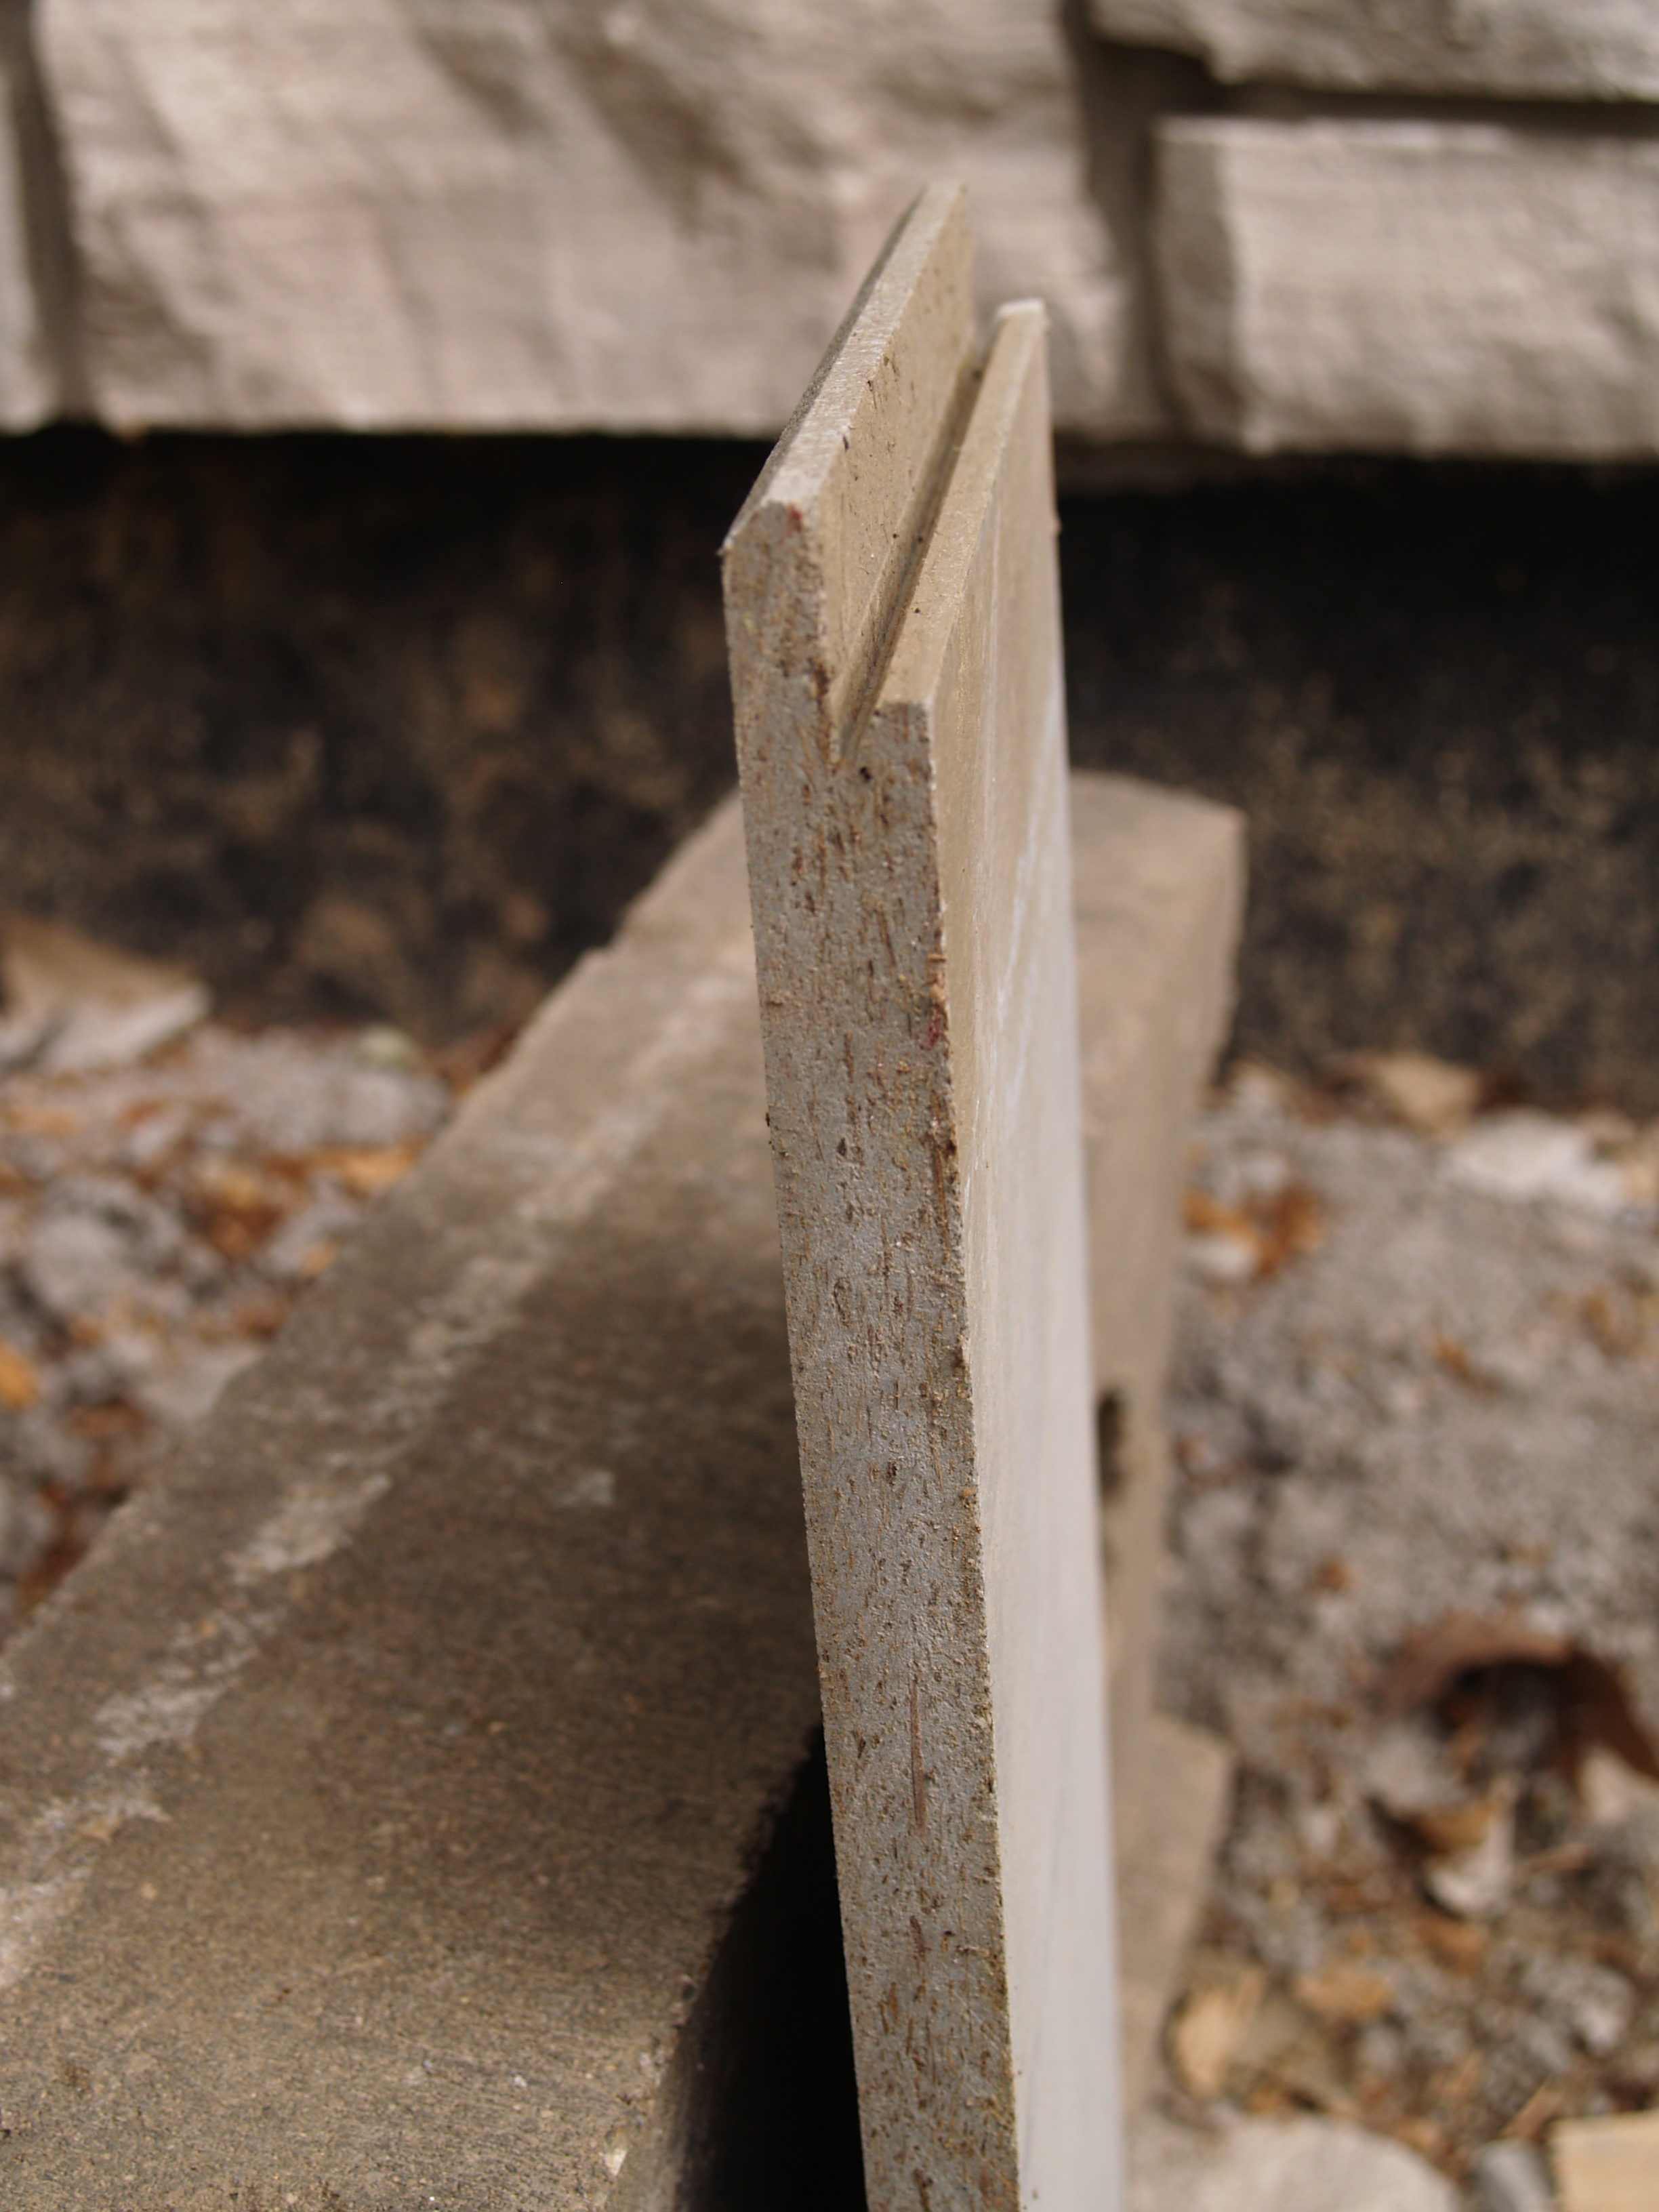
SIDE VIEW OF THE SIDING BOARD
The panels are installed on clips like a rainscreen application. After each row of panels is snapped into place, a new row of clips are nailed to the sheathing to catch the next row of panels. There are no nails in the siding.
The corner boards are factory fabricated with a 90º angle made as one piece, so there is no joint seam at the corner. There is a channel of flashing bent and installed on site between the corner board and the adjacent panels that runs vertically up the wall.
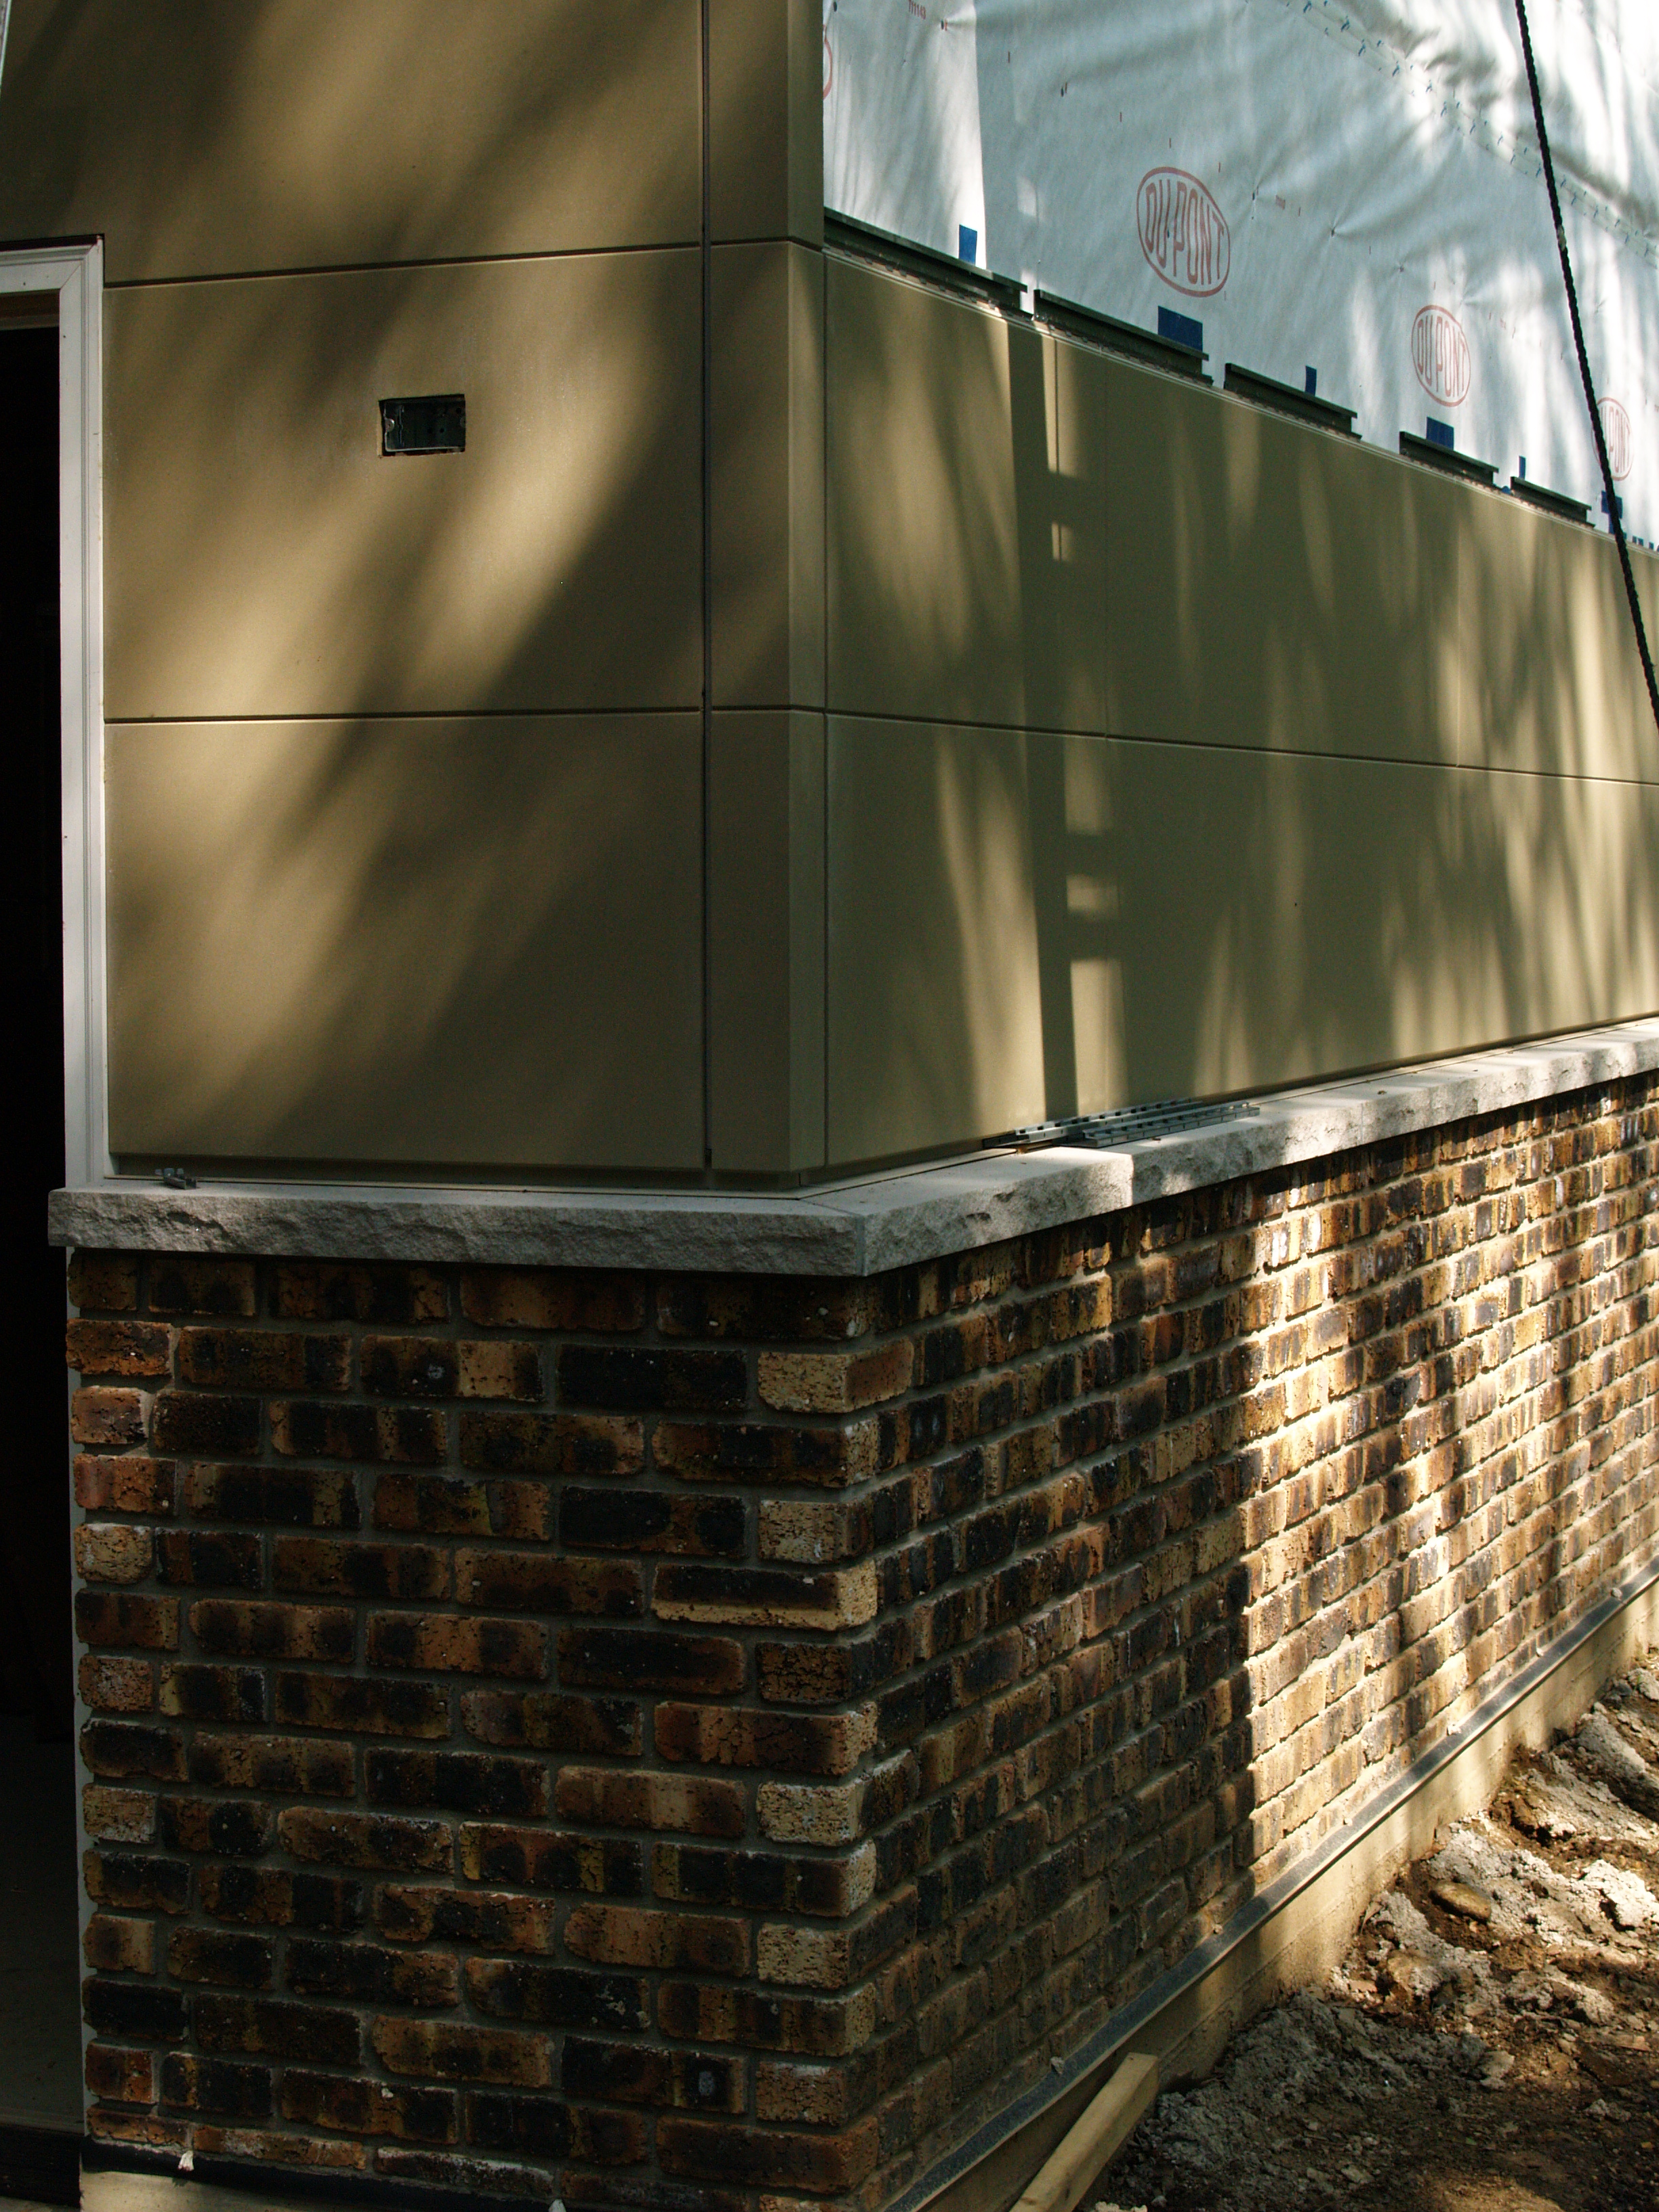
CORNER DETAIL
THE EAST SIDE OF THE HOUSE
A VIEW OF THE BACK OF THE HOUSE
ANOTHER VIEW OF THE BACK OF THE HOUSE
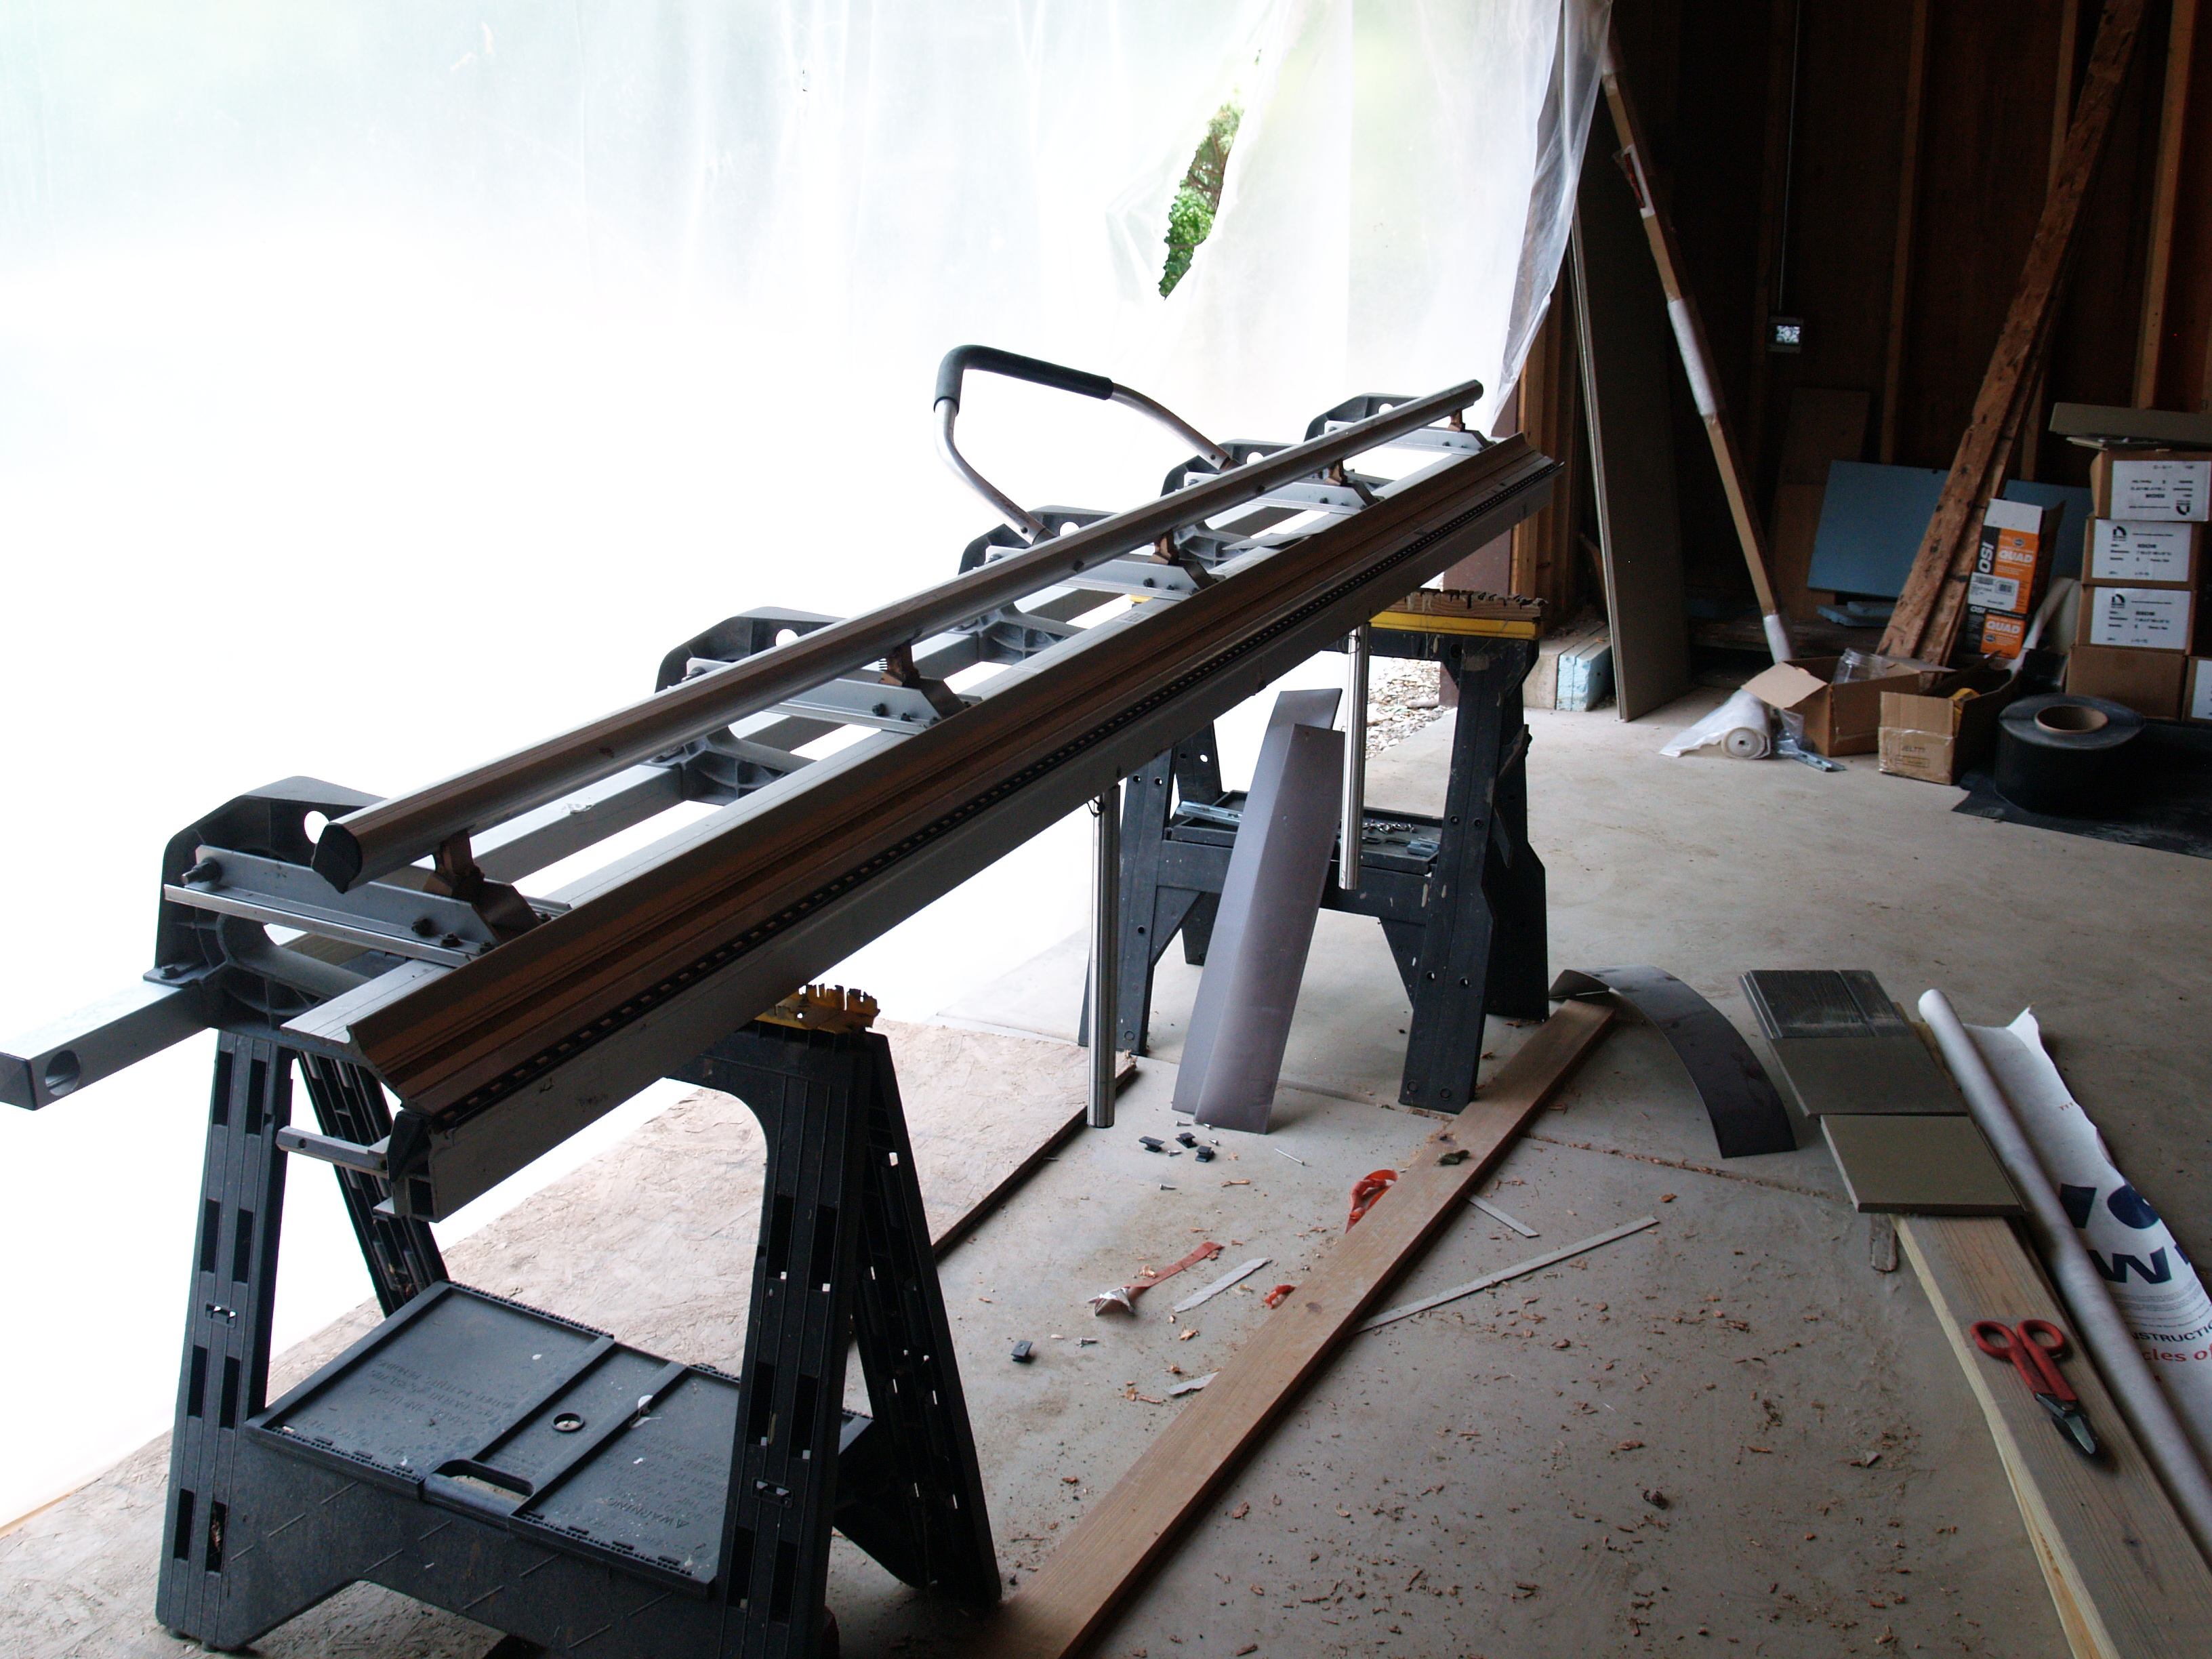
THE MACHINE THAT BENDS THE FLASHING
This machine was sitting in the garage for about a week before I realized Russ was bending the flashing into the unique shapes needed waterproof our siding.
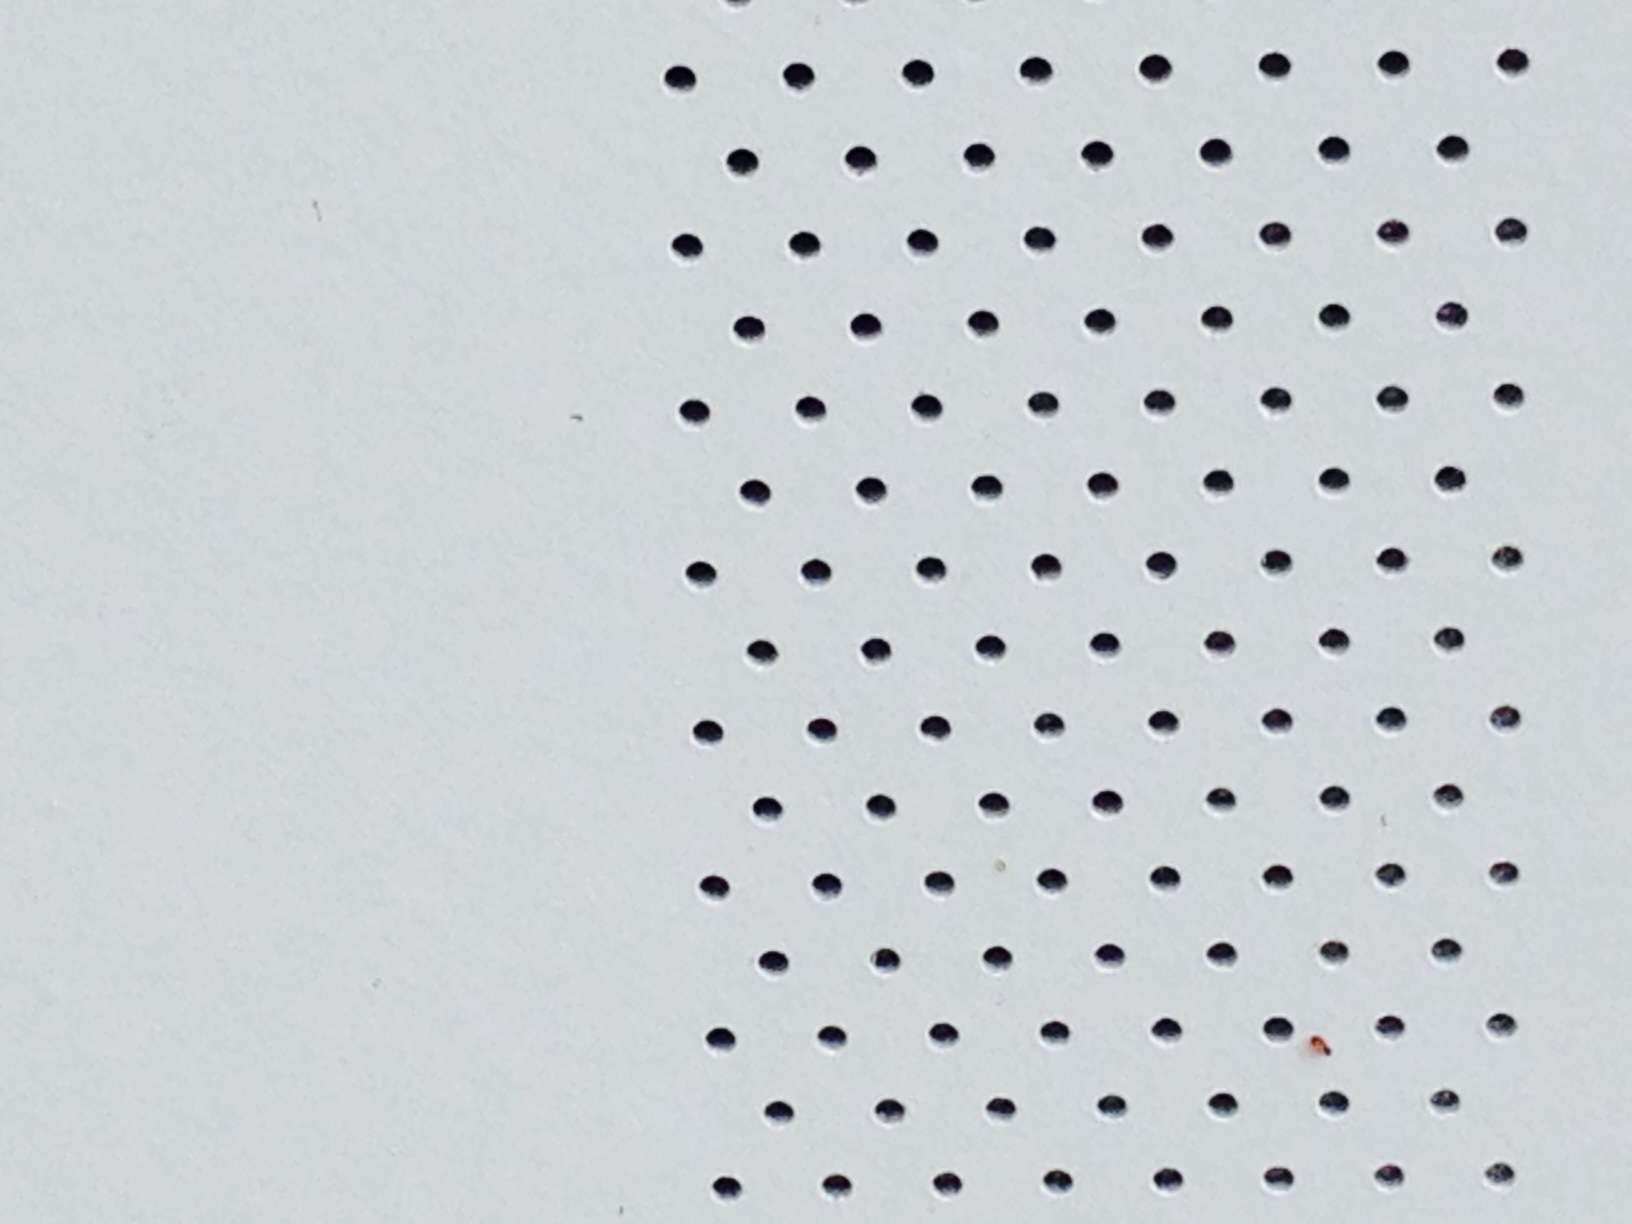
We are using another composite material for the trim, soffits and fascia boards. The soffit board has continuous venting. The holes are apparently small enough to prevent bees from entering the soffits, and the rest of the house. However, we took no chances, we added a layer of screen over the holes inside the soffit. The soffit is a light color, John wanted to make sure that light reflected back into the house. We had the rest of the trim boards colored to match the windows, we may be running out of steam choosing new finishes.
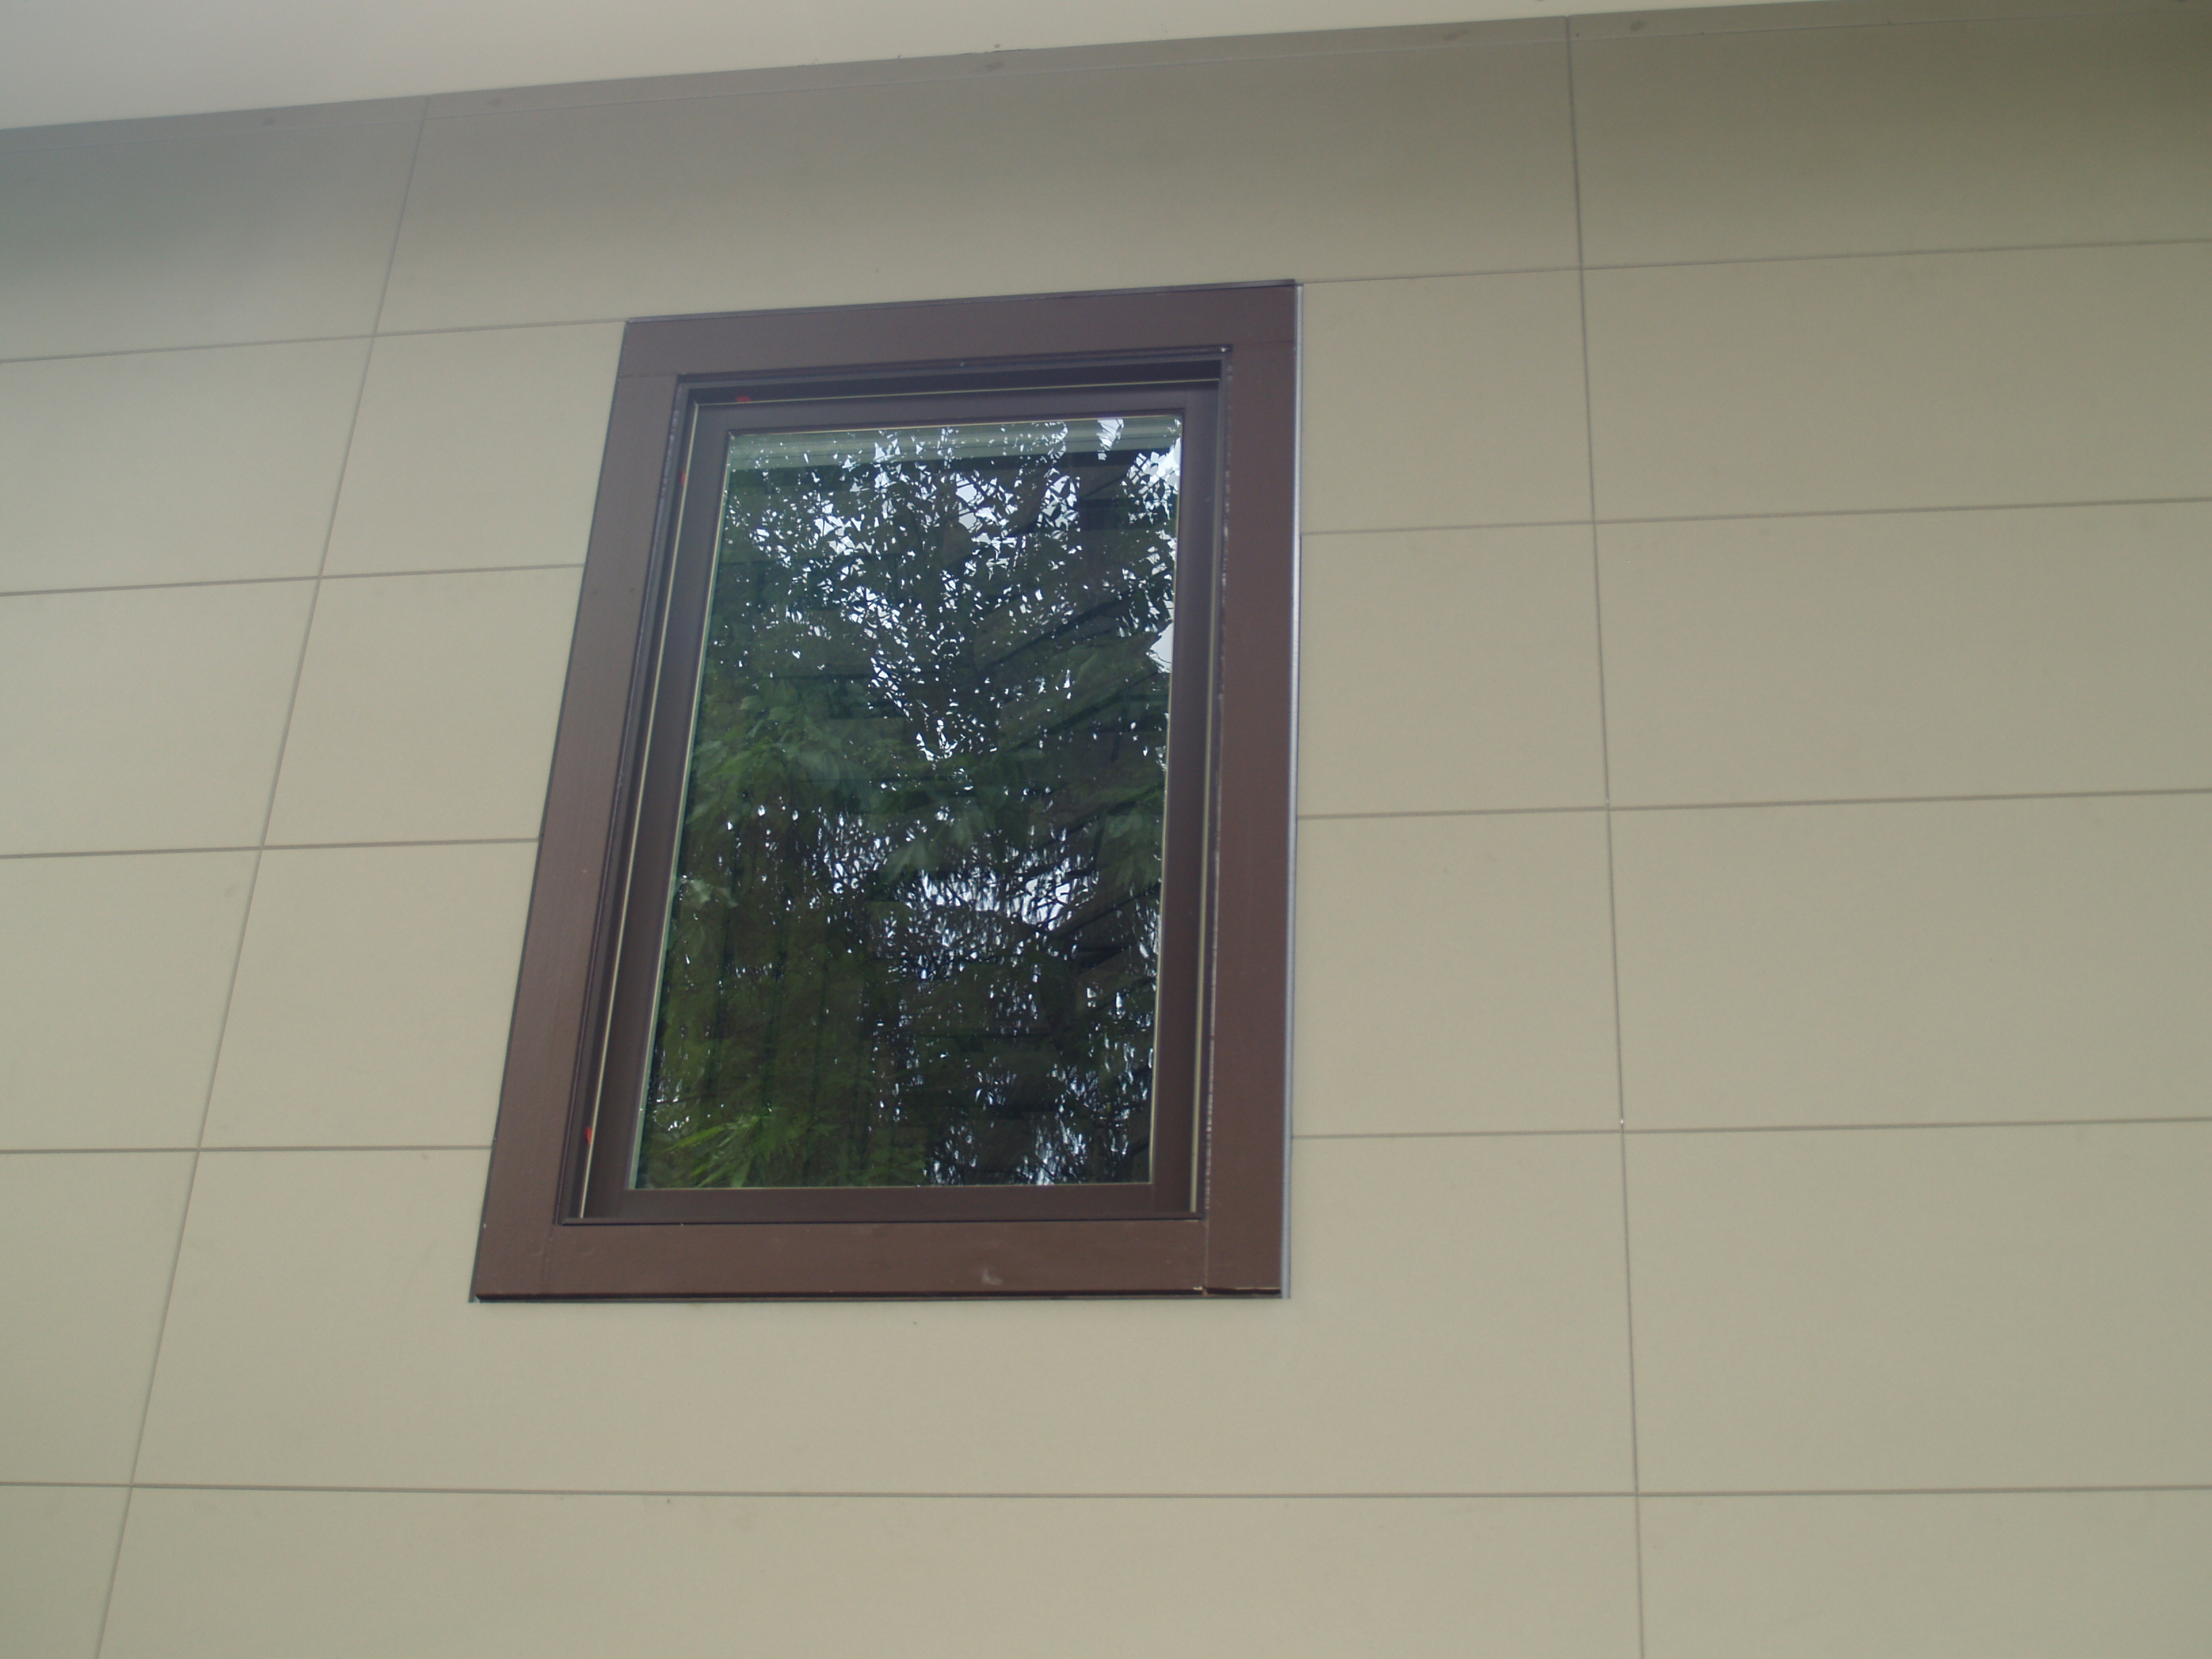
WINDOW TRIM


